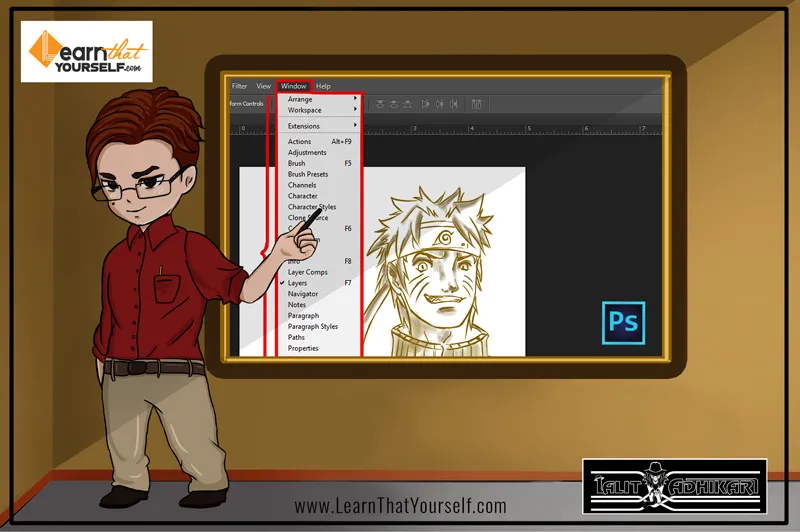
In this Photoshop Lesson, we’ll learn about ‘Window Menu in Photoshop‘. Window Menu is found under at top bar called menu bar in Photoshop. Window menu is the main control panel for the overall configuration of our interface in Adobe Photoshop.
We can arrange the panels and customize your workspace according to your preference. We will get options for almost all of the tools and panels in this menu.
My name is Lalit Adhikari and we are at LTY. Let’s begin!
Table of Contents
Arrange
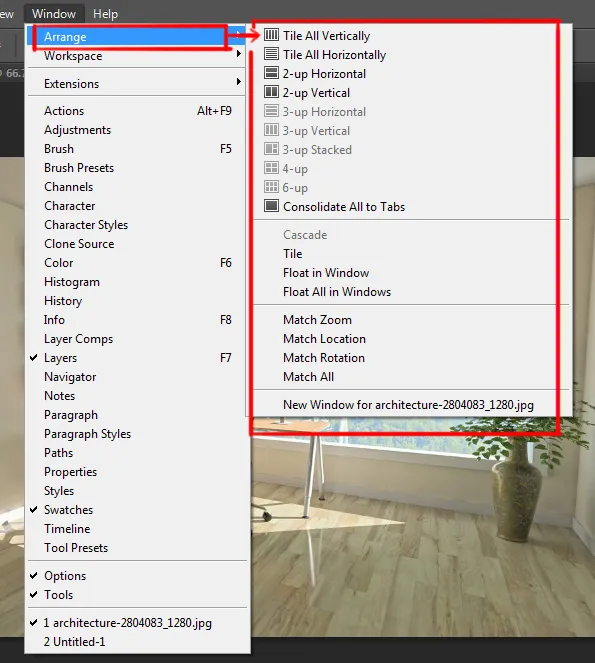
The First option in the Window menu is ‘Arrange’. This option allows us to control the display arrangements of our documents.
As you click on this option, it opens a fly-out menu which consists of various options. The first option in the flyout menu is ‘tile’ where you can arrange your open documents edge to edge with each other.
There are various tile configurations like vertical, horizontal, 2, 3, 4 or 6 up etc. You can also ‘cascade’ or stack your documents.
Usually, in Photoshop, the documents are neatly stacked behind each other. If you want your document to ‘float’ in the window then click the option ‘Float in Window’ and if you’ve opened multiple documents in your window and want every one of them to ‘float’ then chose the ‘Float All in Window’ option.
If you click on ‘Consolidate All Tabs Options’, it will take all the ‘floating’ documents and tab them together under the options menu bar.
- In the option ‘match zoom’, Photoshop matches the magnification percentage of opened documents with the active documents.
- In ‘match location’, it matches the location of opened documents with the active documents.
- In ‘match rotation’, it matches the canvas rotation of the opened documents with the active documents.
- In ‘match all’; allow you to open your existing image or artwork in another new document.
Related Topics:
Workspace
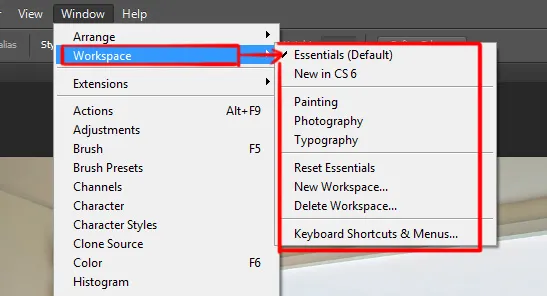
This is the second option in the Window menu of Adobe Photoshop. In this option, you can customize various elements like panels, bars and windows, and the arrangement of these elements in the Photoshop interface is called ‘Workspace’.
As you click on this option, a fly-out menu will open up where you can see various other options like essentials, painting, photography etc. You can customize or remove your workspace according to your need.
Actions
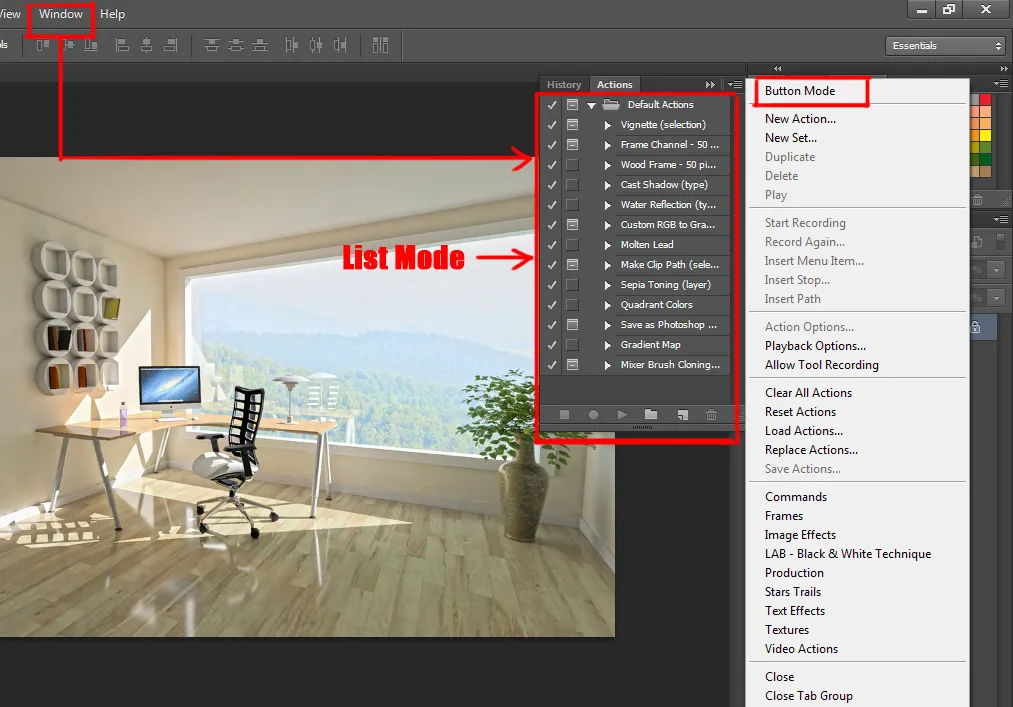
This option is a series of steps where you don’t have to recreate all the steps but can be pre-recorded for you to apply in one step.
To use this option go to the Window menu and click on ‘Action’. This will open up a docking panel where you will see your pre-recorded steps. The shortcut key for this option is Alt + F9
You can access this panel in two modes i.e. buttons and lists.
- Button mode: Buttons mode is a compact mode for viewing the action panel. It is a convenient mode because it hides the inner working of the panel and presenting them only as ‘buttons’.
- List mode: This is usually the default mode of the action panel where the steps appear in a ‘folders’. You can click on these folders to reveal all the detailed steps within that action.
Related Topics:
Adjustments
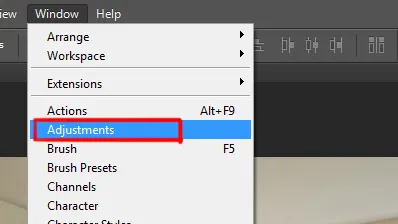
This option allows us to make various adjustments to our image. If you click on this option in the Windows menu, it will open up a docked panel where you will find all your Adjustment layers available in Photoshop. You can know more about the adjustment layers in my ‘Image menu in Photoshop‘ blog post.
Brush
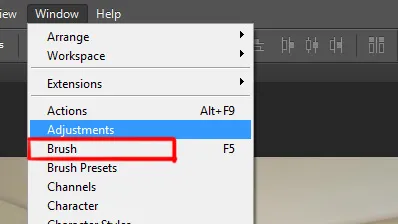
This option opens up the brush panel where you can find various brush settings. The shortcut key for this option is F5
You can check out the Brush tool blog post to know more about the Brush option in Photoshop.
Related Topics:
Channels
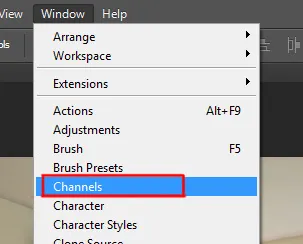
Depending on the Color Mode of an image. The color components of an image are represented in the Channels panel. If an image is made in RGB mode or CMYK mode. These colors are put together to form a composite giving us a final image. And all of this information can be seen inside the channels pallet.
You can learn more about channels in my blog post ‘Channels in Photoshop’.
Character
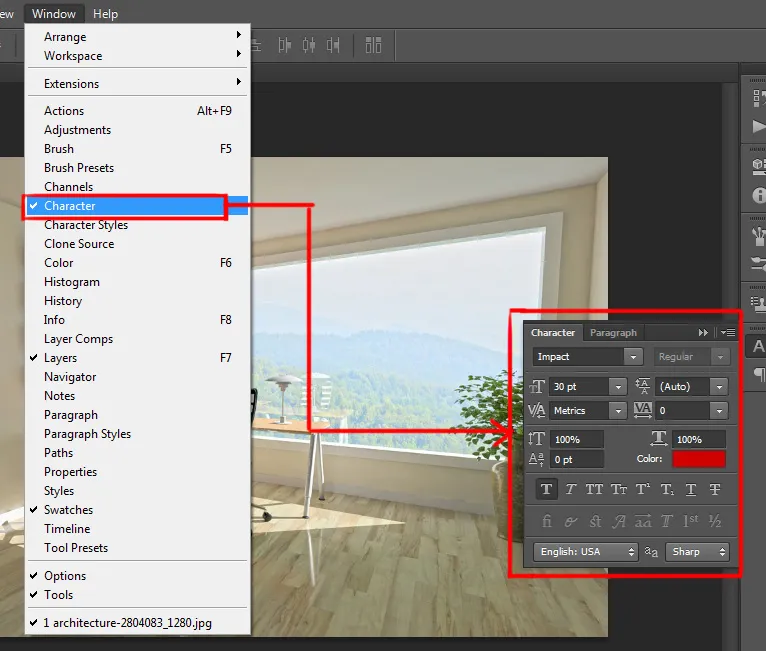
Character panel for Type tool where you can see various options for Typography in Photoshop. To know more about the Character panel and Typography from my blog post ‘Type menu in Adobe Photoshop’.
Related Topics:
- How to Add Falling Snow in Photoshop
- Step by Step guide for Retro 3D Movie Effect in Photoshop
- 5 Types of Masking in Photoshop
Character Styles
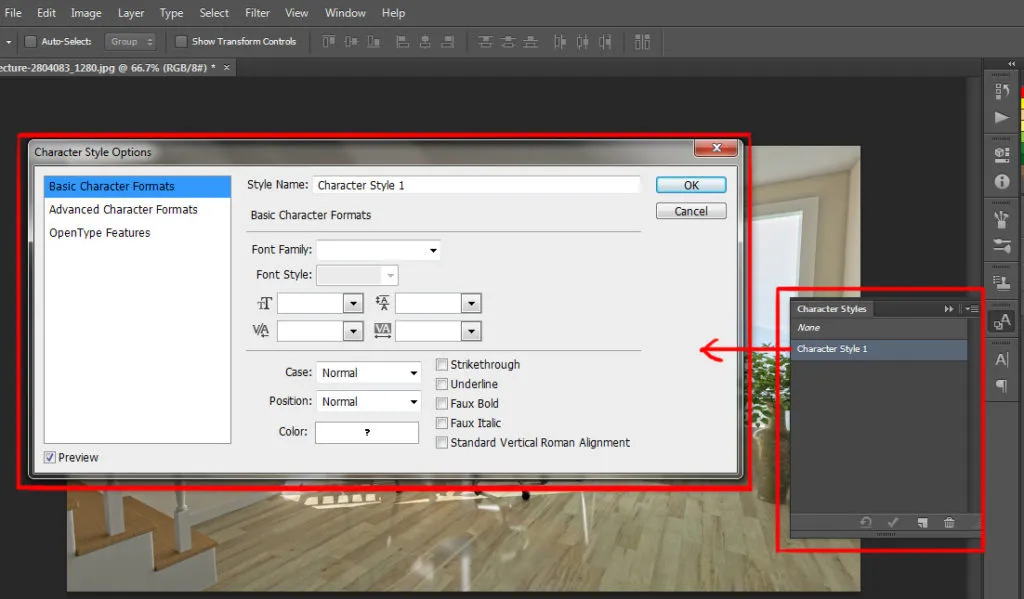
This option allows you to select any of the existing styles and override what they look like in your entire document. To use this option go to the window menu and click on the ‘Character Style’ option, a docking panel will open up where you can create your own ‘Character Style’.
Clone Source
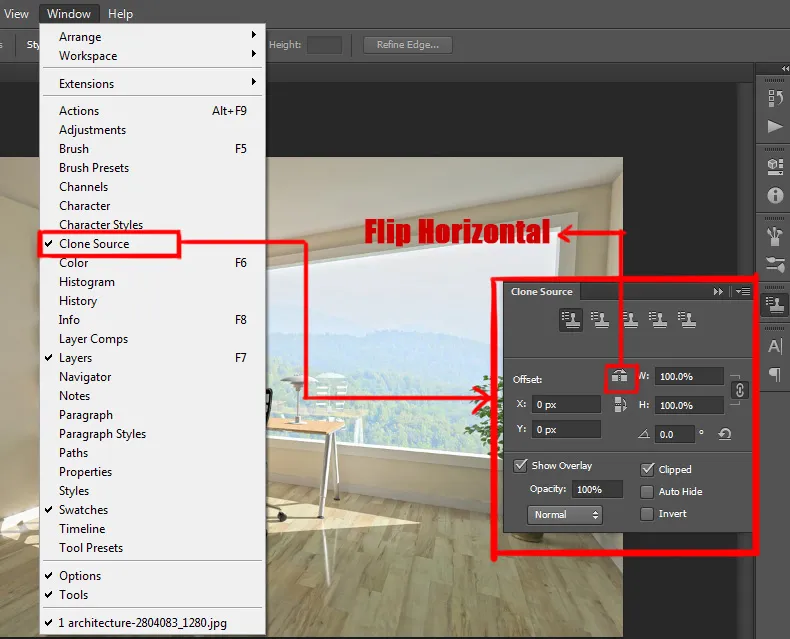
Clone Source option allows you to create a symmetrical shape not the exact identical shape. To choose this option go to the Window menu and then choose ‘Clone Source’ which will open up a panel with various options. Starting from the bottom of the panel there is ‘Show Overlay’ option which allows you to see what you are cloning within the context of your Clone Stamp Tool.
‘Clipped’ opinion is usually checked as default and if you uncheck it, the image will look like it has been shifted. ‘Opacity’ slider allows you to control the opacity of ‘Clone Source’. Next, to the width control, there is an option called ‘flip horizon’ which allows you to flip the ‘Clone Source’ image.
Related Topics:
- Photoshop Gold Text Effect
- How to enlarge an image in Photoshop
- Fade Command in Edit menu in Photoshop
Color
Color option allows you to open up a color panel where you can find various options to change Foreground and Background Color. You can know more about Color and its importance in designing in my blog post ‘Color Theory’. Shortcut Key for this option is F6
Histogram
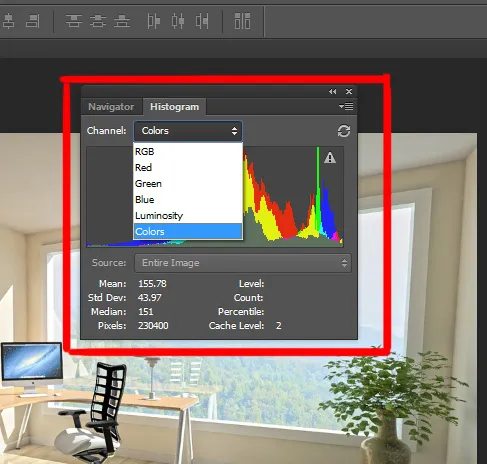
The Histogram is a graph which shows you the lights and darks on your image. And if you are having trouble adjusting your exposure and levels in your image then you can correct it using this option.
To use this option go to Window menu and chose ‘Histogram’, this will open up a Histogram panel. Click on the ‘extended view’ option from it’s fly-out menu to get the extended view of the panel which has lots of information to look at.
Normally, we see the histogram option in RGB which is all of the information for our image. But we can also look at the lights and the darks for each one of our color channels. Apart from color channels, there is ‘luminosity’ which is quite similar to the RGB channels.
Instead of combining the different color channels this options only combines the ‘lights’ and ‘darks’. In ‘color’ option all of the color values are mashed with one another. Therefore, the Histogram is a graph that represents the colors, the ‘lights’ and the ‘darks’ in an image.
Related Topics:
History
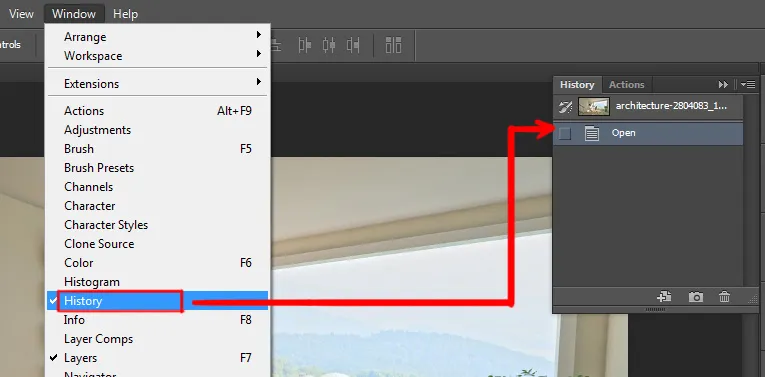
History option gives you the ability to perform multiple ‘undo‘. This option also allows you to combine it with other tools like History Brush and Art History Brush to get different results. There are two modes in history panel: Linear mode and Non-Linear mode. The linear mode helps you to keep track of your recent steps and you can erase any of these steps if you need to. Non-Linear mode preserves all those steps.
Info
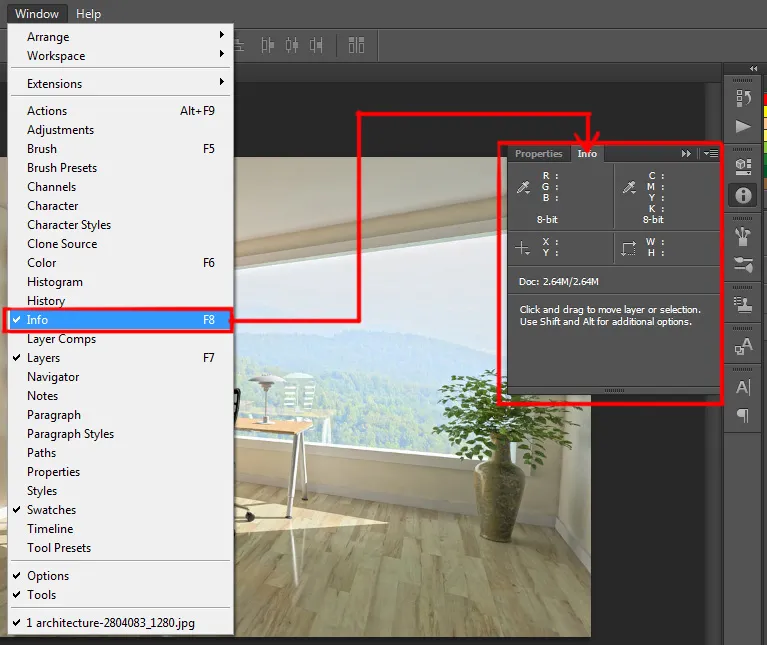
Info option provides you the information of the tool that you are using at that moment.
For example, if you are using the brush tool, the information in the ‘info’ panel will show the information of cursor, height, width, and color of the stroke.
The shortcut key for this option is F8
Related Topics:
Layer Comps
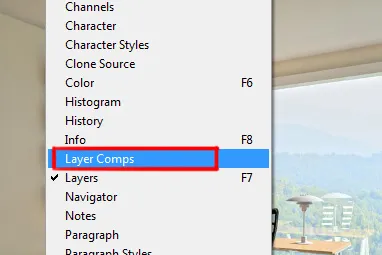
This option allows you to create and save the multiple versions of your document within a single master file. Through this option, you can record all the information of your layers including opacity & fill, positions and blend modes.
Layer
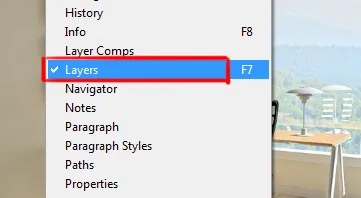
Layers option opens up the Layer Panel. Usually, it is ‘checked’ by default but if it is unchecked you can go to the Window menu and click on the ‘Layer’ to make it visible. The shortcut key for this option is F7
Related Topics:
Navigator
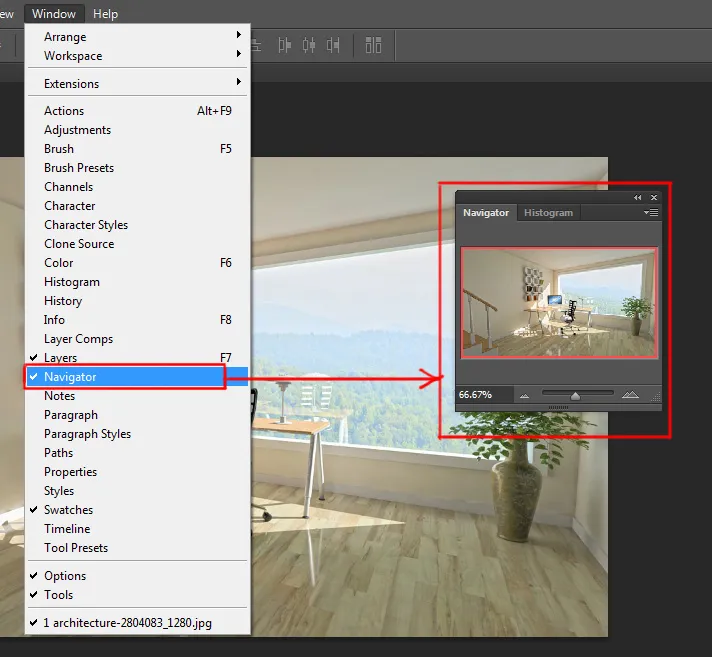
Navigator option allows you to know the location of your zoom in your document.
As you chose this option from Window menu, this will open up the navigator panel where you will find a slider which allows you to zoom in and out of your document and the overall image with a frame to move around after you are zoomed in.
Notes
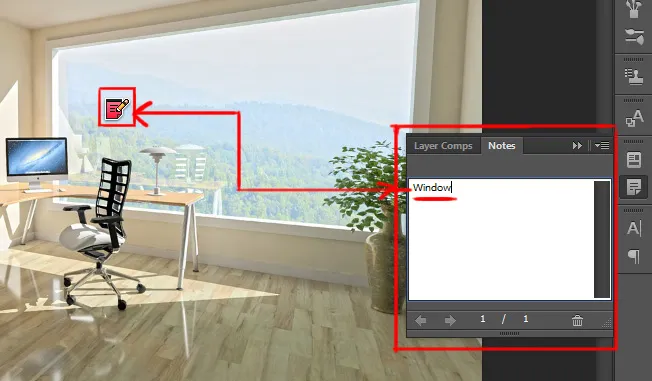
Notes allows you to put ‘what you are thinking about’ or what you are ‘commenting on’ right where the problem area is. To access this panel you can go to the window and then come down to ‘notes’ to have it fly-out on display.
To use this tool click on the stage or document where you want to stick the note and then type your comments or information on the notes panel.
Related Topics:
Paragraph and paragraph styles
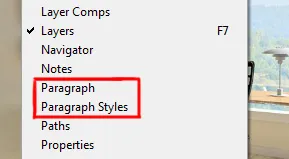
Paragraph panel is the extension of character and the type panel. To use this option go to the window and chose ‘paragraph’. There are various paragraph options which you can on your text. To know more about the paragraph and its options you can see my blog post on ‘Type panel in Photoshop’.
Paths
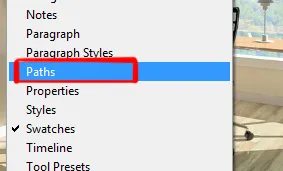
Paths are vector lines which have one or more straight or curve segments. In Photoshop, it is usually used to make selections or stokes. To know more about paths and how it works you can see my blog post ‘Pen Tool in Photoshop’.
Related Topics:
Properties
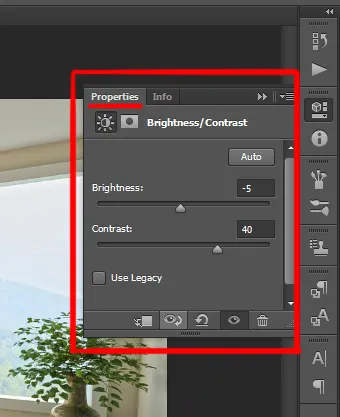
This option shows you the properties of your adjustment layers.
Swatches
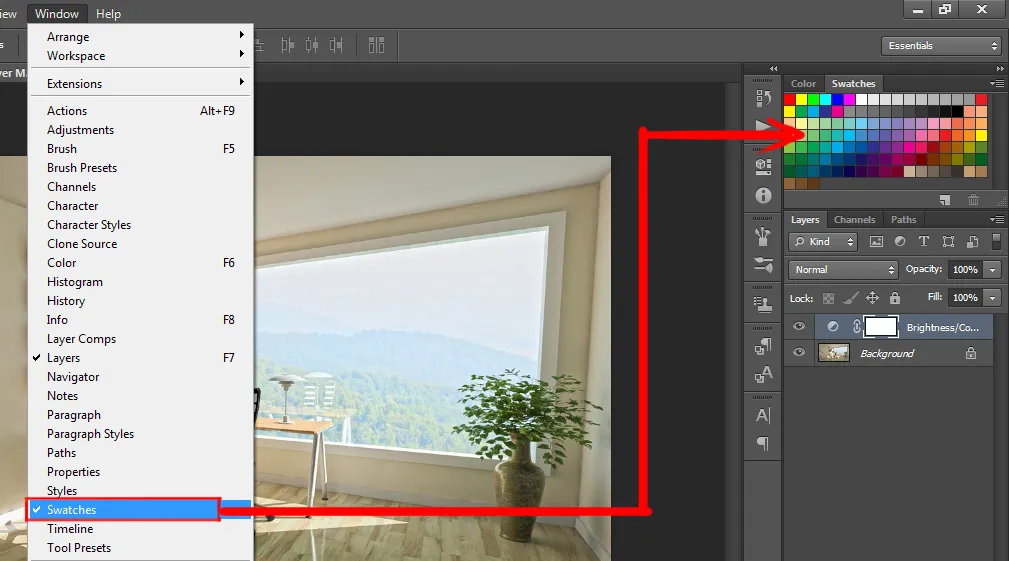
The swatches panel allows you to quickly select and save colors that you use often in your artworks and designs. In the default workspace of Photoshop, many common colors are available as swatches and clicking on any of them will activate that color as your foreground color as seen at the bottom of your tools bar.
If you hold down the ctrl key on your keyboard, any swatch that you click will become the background color instead of the foreground color. Holding down the Alt key allows you to delete the swatch.
Related Topics:
Timeline
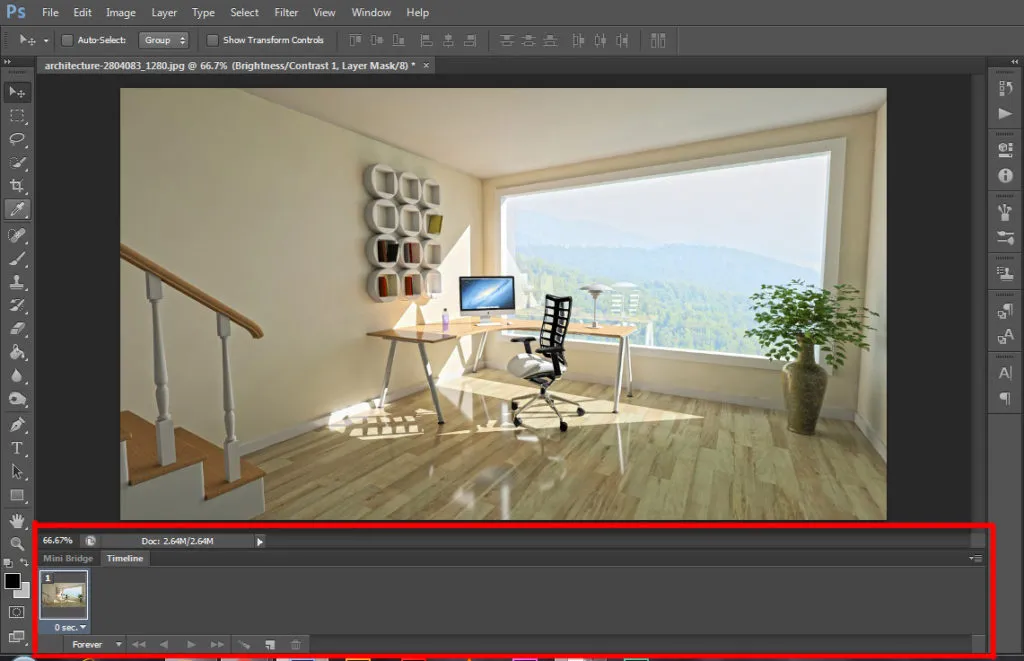
This option allows us to create GIF animations in Photoshop.
Tool Presets
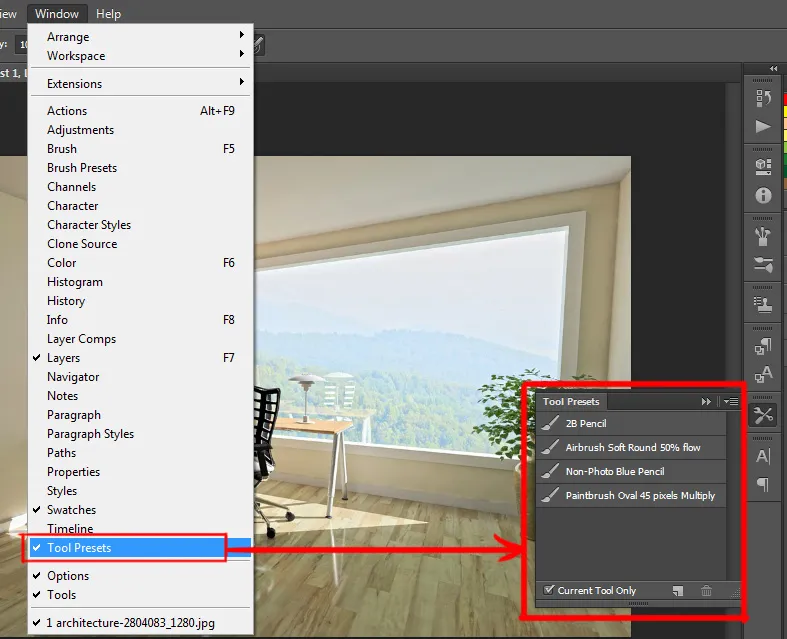
Tool presets allow you to save the settings of your tool.
For example, if you choose brush tool and change its setting, every time you change your brush the settings go back to the default settings for this brush. But with ‘Tool Preset’ you can save your brush settings and use that same setting for multiple times.
Related Topics:
- Presets in Photoshop
- Remote Connections in Photoshop
- Assign Profile in Photoshop
- Convert to Profile in Photoshop
- Keyboard Shortcuts in Photoshop
- Menus in Photoshop
- Toolbar in Photoshop
- What is Photoshop
- Tools in Photoshop
- Selection Tools in Photoshop


