In this blog, we will learn about, “View menu in Photoshop“. I’m Lalit Adhikari and we are at LTY. Let’s get started!
Table of Contents
Introduction
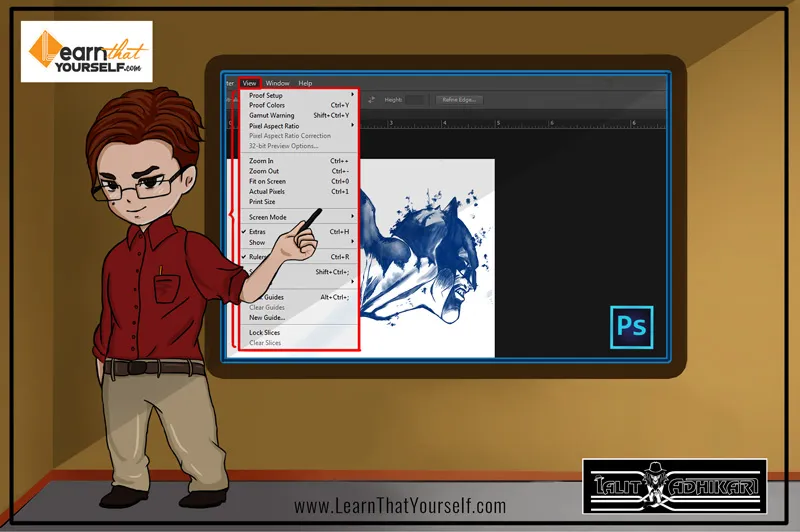
View menu in Photoshop is generally used to set up the look of your main work area or workspace. You can access these options through shortcuts or directly from the ‘view menu’.
Proof Setup
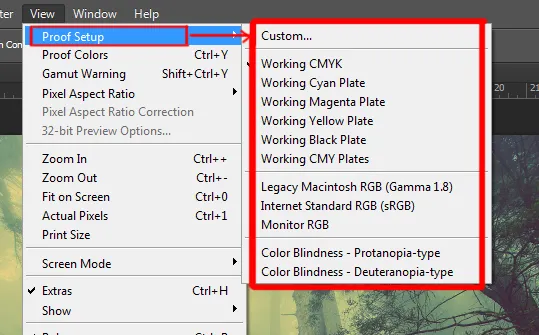
This is the first option in the view panel after the ‘custom’ option. As you click on this option it will open up a flyout menu where there are various options you can choose from.
In this flyout menu, there are couple other settings like working CMYK, Working Cyan, Magenta, Yellow, Black plate etc. And all this option will show you on screen what the image will look like if you convert it into CMYK or other given options.
After this, we have various other settings like Legacy Macintosh RGB, Internet Standard sRGB and monitor RGB.
- Legacy Macintosh RGB: This option will stimulate an effect of how the image will look like if we convert it into pro photo RGB if we are viewing this on a standard generic Apple monitor. (Pro Photo RGB looks fairly unappealing if it isn’t color managed appropriately).
- Internet Standard sRGB: This option allows us to see the image as if you would have posted it online and the typical sRGB profile is displaying it without any color management.
- Monitor RGB: Monitor RGB shows what your image would look like if it isn’t color managed at all.
Color Blindness – Protanopia Type: This option is for the users who suffer from color blindness (blindness to red color) or Protanopia.
Color Blindness – Deuteranopia Type: This option is also for the users who suffer from color Blindness (blindness to green color) or Deuteranopia.
Related Topics:
Proof Colors
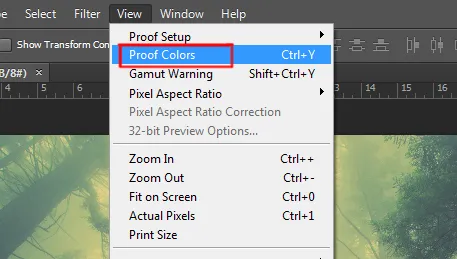
Color correcting in Photoshop is quite common. And most of the designers convert to CMYK before they color correct the images to see what colors are going to get lost when you move from a larger RGB color gamut to a smaller CMYK gamut. Photoshop does a much better job of correcting coloring in the RGB color space.
If you click on the ‘view menu’ in the menu bar and select the second option ‘Proof Colors’, it will keep the image in RGB color space. But what you will be seeing visually is how the image will look like if you convert this to CMYK.
Therefore, you have the RGB gamut that you can use to color correct the image and you are getting an onscreen preview of how the image will look when it’s converted to CMYK. The shortcut key for using this option is Ctrl + Y
Gamut Warning
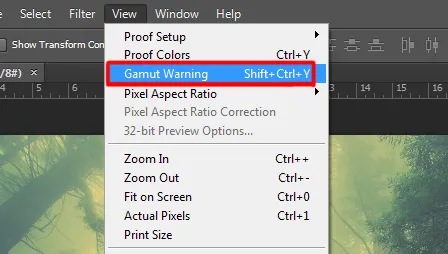
Suppose you are viewing your image in a color profile that is hiding away some of the colors in your image as it is outside the selected target profile. To see the hidden colors you can select the option ‘Gamut Warning’ under the view panel.
This option will allow us to overlay the colors that lie outside the selected target profile with the Photoshop Gamut warning color. The shortcut key for this option is Shift + Ctrl + Y
Related Topics:
Pixel Aspect Ratio
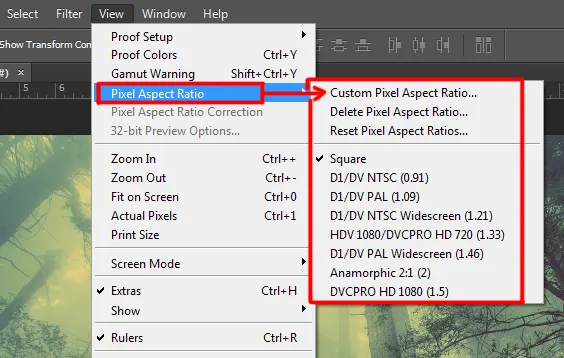
Aspect ratio is just the relative size of its one side to another not what the actual length of the side of the pixel is. If your ratio is 3:3 it means each side of the pixel is the same length and if the ratio is 3:1 it means that one side is going to be thrice as long as the other. We usually work with square pixels when dealing with the still images.
But with video, some formats use pixels that are not square. As you click on this option under the view panel a flyout menu will open up which will show various options to customize your pixel aspect ratio. To achieve maximum image quality keep the ‘pixel aspect ratio correction’ turned off.
Zoom In
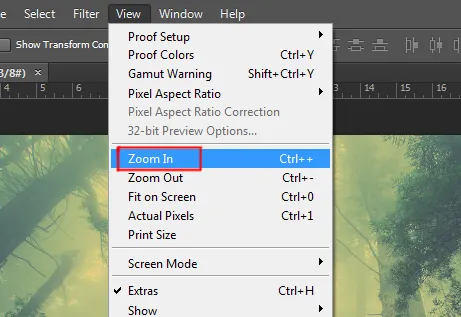
This option allows us to zoom into the image or your document. The shortcut key for using this option is Ctrl + +
Related Topics:
Zoom Out
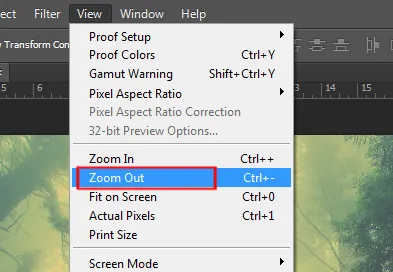
This option allows us to zoom out from the zoomed in document or image. The shortcut key for this option is Ctrl + -
Fit on Screen
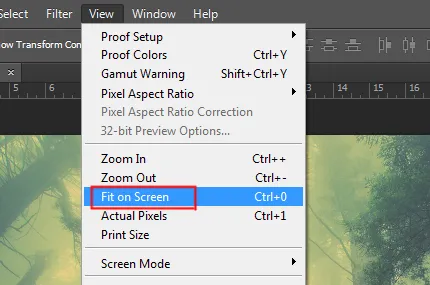
This option allows us to fit the image or your document perfect on the stage so that you can see every part of your image. The shortcut key for the option is Ctrl + 0 (zero)
Related Topics:
- How to Create Rain Effect in Photoshop
- How to Add Falling Snow in Photoshop
- Step by Step guide for Retro 3D Movie Effect in Photoshop
Print Size
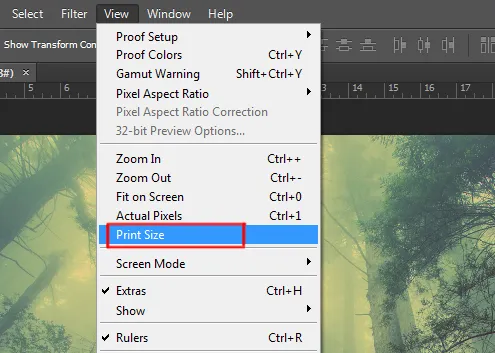
This option allows us to see the preview of the actual print size of the document. To use this option you can go to the view menu and select the ‘Print Size’.
Screen Mode
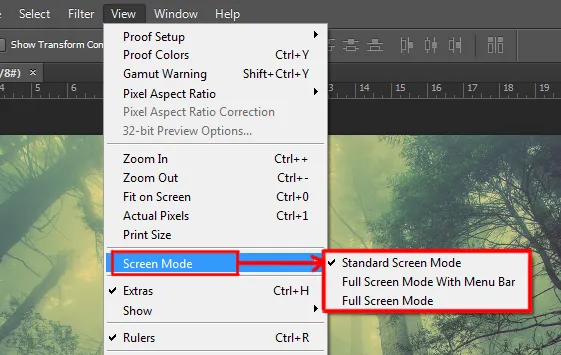
Generally, when you are working with Photoshop you will see your tool pallet on the left, layers and other dialogue boxes on the right and at the top, you will see your menu bar and this is your ‘standard screen mode‘.
The second option is ‘full-screen mode with menu bar‘ and if you click on that you will get a larger working area.
The third option is ‘full-screen mode’, and when we select that option we get a warning message which says ‘in full-screen mode panels are hidden and they can be accessed on the sides of the screen or revealed by pressing the Tab‘. You can return to standard screen mode by pressing F or Esc button on your keyboard.
Related Topics:
Extras
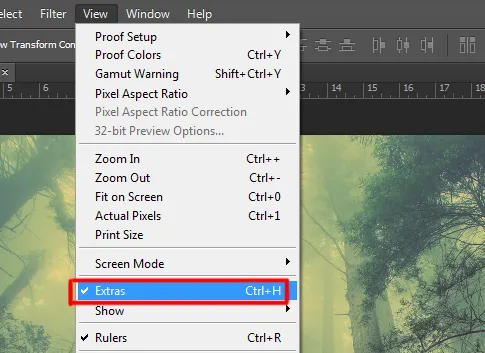
This option allows us to view the selection edges, grids, guides etc. You can enable or disenable the ‘extras‘ by checking and unchecking it from the view panel. Shortcut menu for this option is Ctrl + H
Show
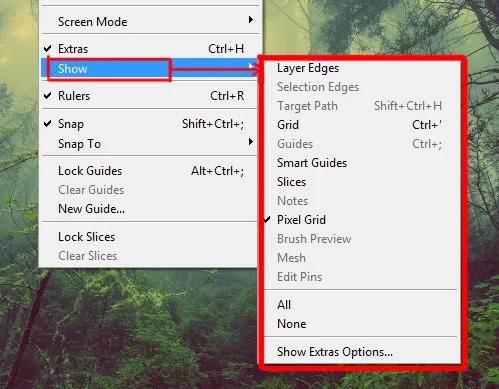
This option allows us to show various elements on your workspace like layer edges, grids, smart guides etc. As you click on this option a flyout menu will open up which will show all these various options.
Related Topics:
Rulers
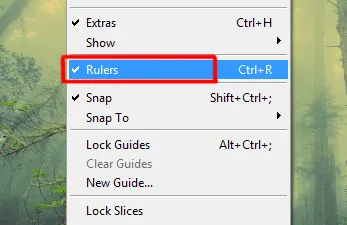
If you are creating a design which has specific dimensional requirements or if you are trying to align various objects and layers accurately in a composite of design you will need rulers and guides. The shortcut key for rulers is Ctrl + R
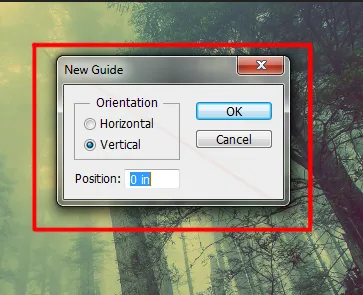
Guides are the lines that don’t print and they aren’t the part of your actual image but they allow you to align your cursor to the exact location of the guide. To place a vertical guide in the document choose view < new guide.
In the dialogue box, we can choose whether the new guide will be horizontal or vertical. We can also specify the position of the guide by typing it in pixels, inches, and centimetre or any unit allowed in Photoshop. We can also specify the guide in percentages. And when we click ok, we will get a guide right in the exact space that we’ve mentioned.
Related Topics:
- Find and Replace Text in Photoshop
- Fill in Photoshop
- Stroke in Photoshop
- Content-Aware Fill in Photoshop
- Content-Aware Scale in Photoshop
- Puppet Warp in Photoshop
- Perspective Warp in Photoshop
- Transform command in Photoshop
- Auto-Align layers in Photoshop
- Auto-Blend Layers in Photoshop







I just like the valuable info you supply in your articles especially like this one, about the view menu in adobe photoshop. It’s hard to find information related to menu option in photoshop. I will bookmark your blog and check again here frequently. I am moderately sure I will be informed many new stuff right right here! Best of luck for the next!