In this Photoshop Tutorial, I’ll show you, ‘How to create a Retro 3D Movie Effect in Photoshop‘.
I’m Shiv Pratap Singh and I welcome you to another tutorial by me at LTY.
Table of Contents
Introduction
With latest technologies available, 3D movies seems to be a part of our lives but they had been around much before 1950s. Even before we had most of currently famous video editing software.
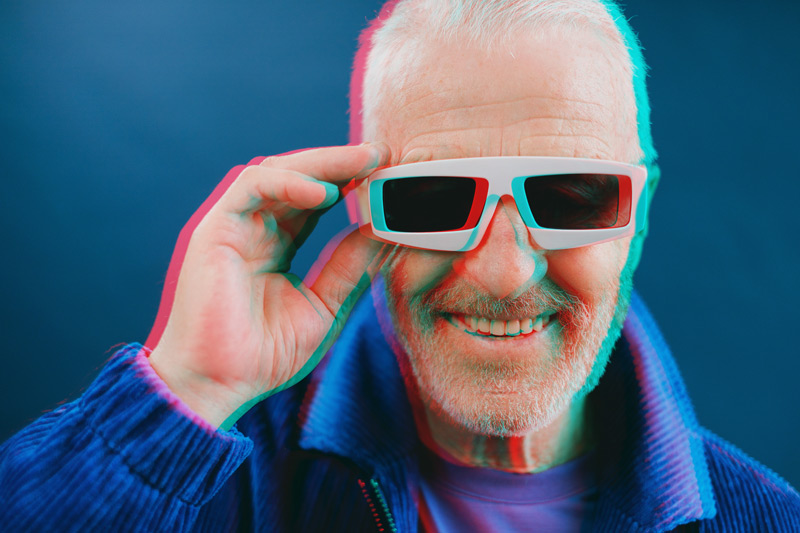
We will recreate the look of Classic 3D movies from Retro era of 1950s by adding Red and Cyan 3D effect to the image in Photoshop.
Image Selection
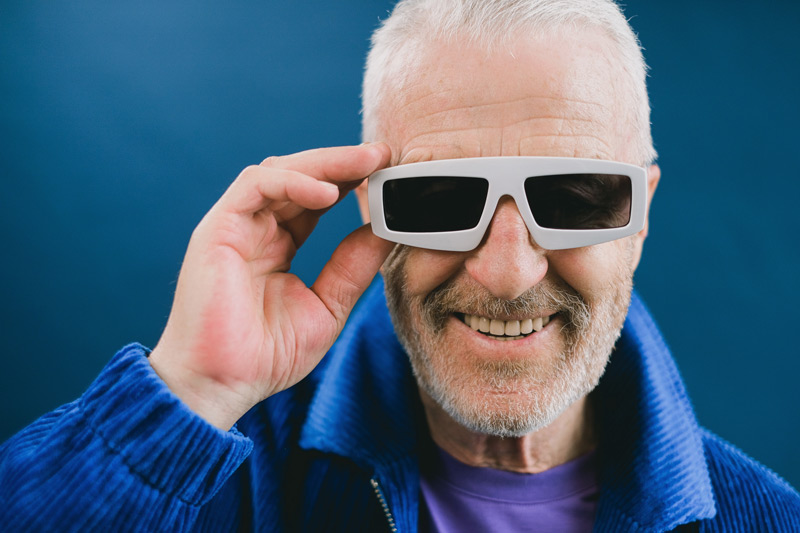
Again, as I had always focused on selecting a ‘Good’ for your work. I would again recommend to search for some good close-up face shots for this tutorial and it’ll be best if the model in the pic would be over-expressing an emotional.
As in retro era, compared to today, movie actors as well as people used to over-express their feelings. Now-a-days we barely express our emotions on our face. Yet some people complain that new actors act with a flat-face. I guess they haven’t seen mirror… 😛
Jokes apart, the image below have been selected by me for this tutorial.

Related Topics:
Retro 3D Effect
Let’s get started with this simple and short tutorial.
Open image in Photoshop
Step 1, will be to open the image in Photoshop.

Duplicate the image
In step 2, duplicate the image layer using shortcut CTRL + J

Layer Style
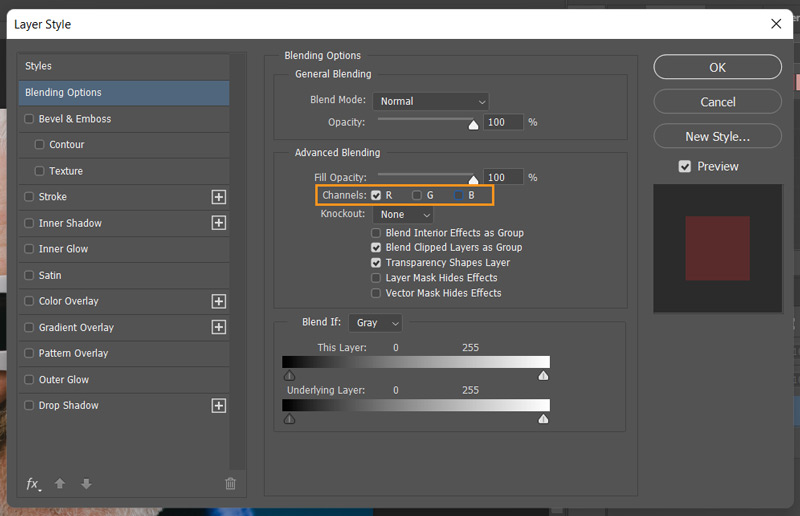
Now, open Layer Style dialog box by double clicking on the ‘Layer 1’ at right side of the layer name. In the channels option in Layer Style dialog box, uncheck Green and Blue channel. Then click OK.
Read to learn more about Channel in Photoshop.

Related Topics:
Move
Now, for final step, simply move the duplicate layer, named ‘Layer 1’ towards left, till you like the result.
Final Result

Related Topics:
- Find and Replace Text in Photoshop
- Fill in Photoshop
- Stroke in Photoshop
- Content-Aware Fill in Photoshop
- Content-Aware Scale in Photoshop
- Puppet Warp in Photoshop
- Perspective Warp in Photoshop
- Transform command in Photoshop
- Auto-Align layers in Photoshop
- Auto-Blend Layers in Photoshop


