In this Illustrator Tutorial, I will show, ‘How to Create Silver Metallic Effect in Illustrator’.
Table of Contents
Introduction
Just in case of one of my previous blog on ‘How to Create Metallic Effect in Illustrator‘, we will again achieve Silver Metallic Effect in two parts.
- Silver Metallic Color
- Adding Glow and Shadow
I will perform this tutorial on a Text in Illustrator but you can follow the steps to apply this effect on any Element or Design.
In case of text, you should chose your Font carefully. As we are creating a Silver look and Silver symbolizes Wealth, Success and Power (Power in terms of Position of a Person not Strength).
Jennifer Bourn in her article stated that silver is “distinguished color of riches, has cool properties like gray, but is more fun, lively, and playful.”
People who like this color are sensitive, confident, kind, calm and compassionate. I hope you get the idea of what kind of Font you should be using.
Related Topics:
- What is Adobe Illustrator
- Line Segment, Arc, Spiral, Rectangular & Polar Grid Tool
- Rectangle, Rounded Rectangle, Ellipse, Polygon, Star & Flare Tool
Create Background
As stated in “How to Create Metallic Effect in Illustrator‘, Metals have lustrous or shining surface. However, some metals like Silver, Gold and Platinum etc. have some shiny surface than others.
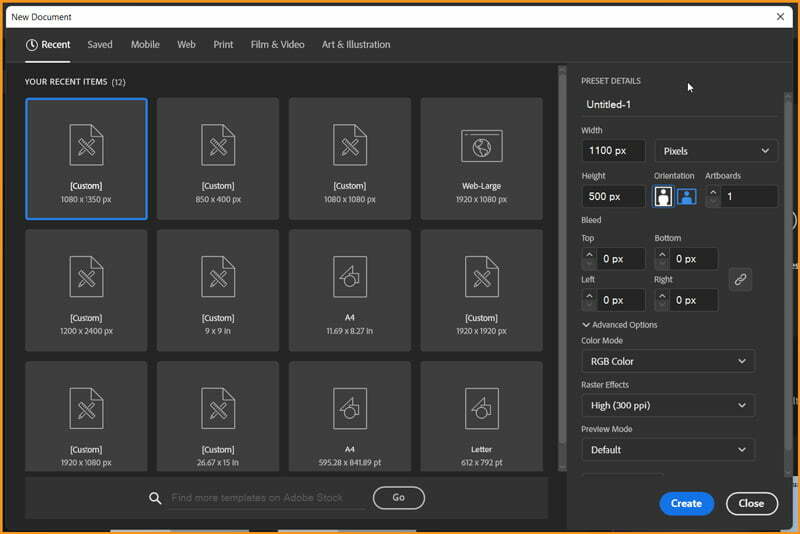
Create New Document
We will start by creating a New Document in Illustrator. For the purpose of this tutorial, I will chose the following values:
- Width: 1100 px
- Height: 500 px
- Color Mode: RGB
- Raster Effects: High (300 ppi)
Create Background
- Take Rectangle Tool from the toolbar with Stroke color as None, Fill color as R=120, G=120 and B=151
Click on the Artboard with Rectangle Tool selected to open the Rectangle dialog box and use Width: 1120 pxx and Height: 520 px.
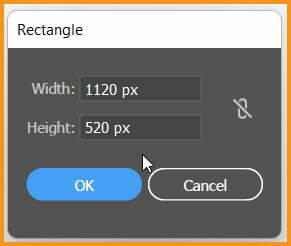
After we click on OK, a Rectangle will be created as shown below.
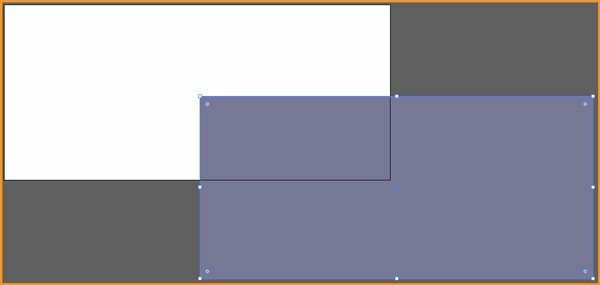
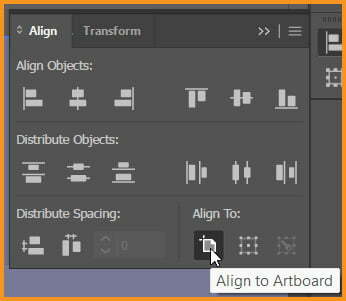
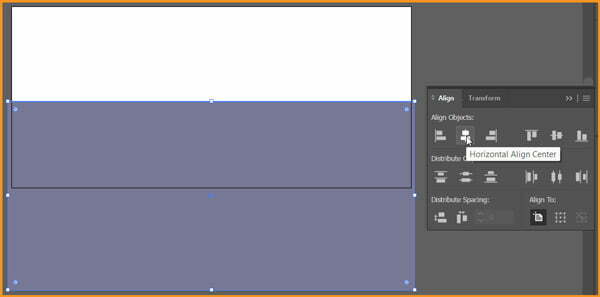
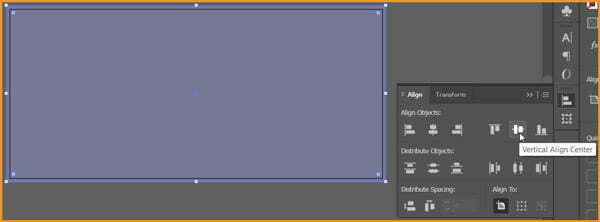
- Now, we need to center our Rectangle with respect to the Artboard. We can do it using Align Panel. While the Rectangle is selected, open Align Panel and do the following:
- Align To: Align to Artboard
- Click Horizontal Align Center
- Click Vertical Align Center
Respective pics for above steps are shown below:
Related Topics:
- Type Tool in illustrator
- Paintbrush & Blob brush Tool in illustrator
- How to use Eraser tool in illustrator
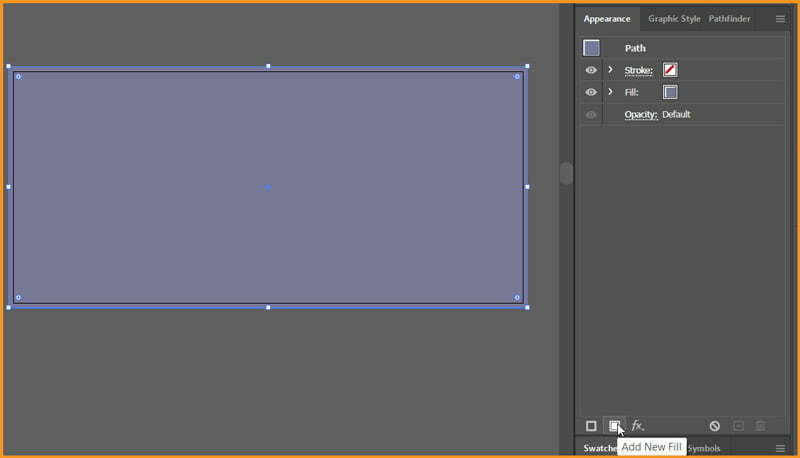
- Open Appearance Panel, click on Add New Fill button at the bottom of the Appearance Panel.
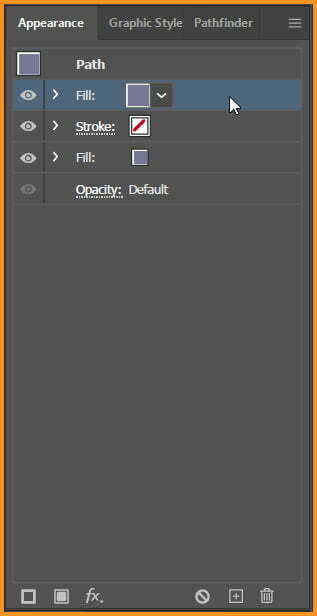
- Change the Blending Mode of New Fill layer to Soft Light.
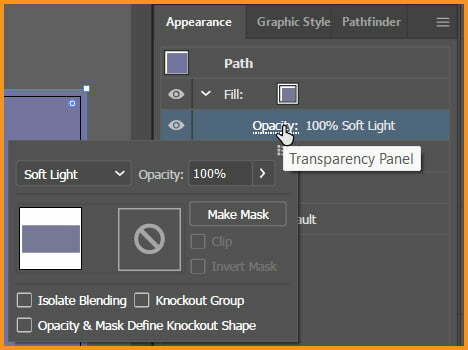
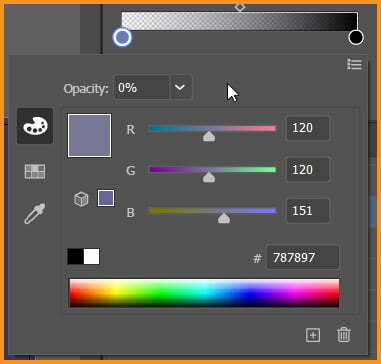
- Change the solid fill of the Fill layer to Radial Gradient, from R=120, G=120 and B=151 with opacity of 0% to R=70, G=70 and B=101

- Change the shape of Radial Gradient using Gradient Tool.
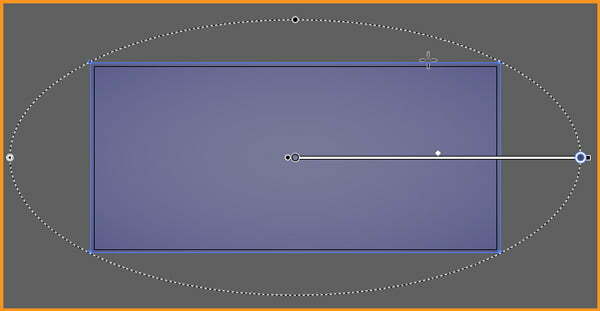
Related Topics:
- How to use the Pen Tool in illustrator
- Perspective Tool in Illustrator
- Selection Tools in illustrator
Add Element for Silver Metallic Effect
Now, we need to add the element for our Metallic Effect in Illustrator. In my case, I will be taking a text for the tutorial.
Remember, Typography is an important topic if you consider to use text too. I will be using Futura Light Condensed as Font at 330 px Font Size and Tracking of 50

Add Silver Colors Gradient
- Remove Text color. Open Appearance Panel and Add New Fill.
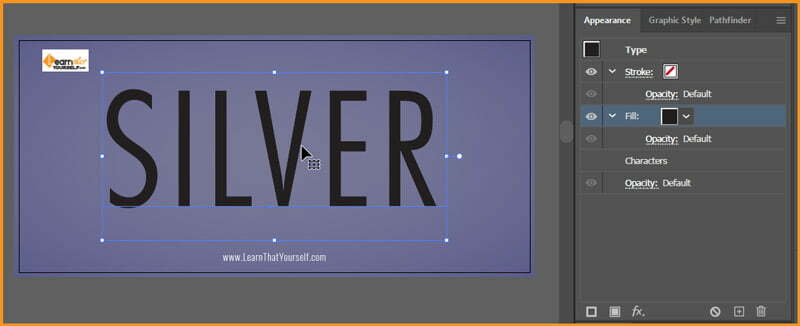
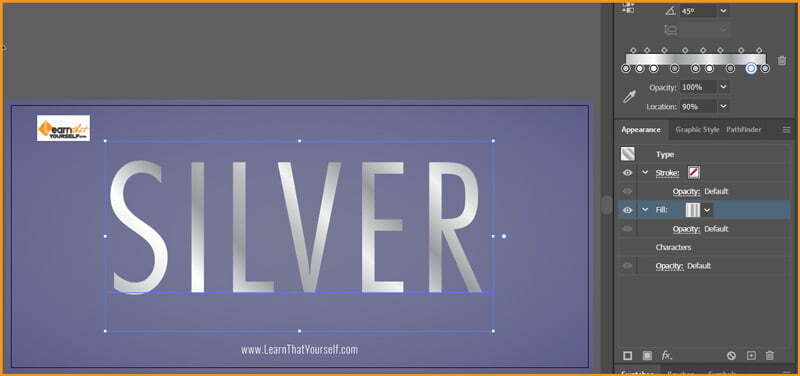
- Replace the solid Fill color with a Linear Gradient at 45 degrees containing following location and color values:
- Location: 0%; Color Stop: R=188, G=190 and B=192;
- Location: 10%; Color Stop: R=231, G=230 and B=233;
- Location: 20%; Color Stop: R=254, G=254 and B=254;
- Location: 35%; Color Stop: R=152, G=154 and B=158;
- Location: 50%; Color Stop: R=188, G=190 and B=192;
- Location: 60%; Color Stop: R=241, G=241 and B=241;
- Location: 75%; Color Stop: R=152, G=154 and B=158;
- Location: 90%; Color Stop: R=241, G=241 and B=241;
- Location: 100%; Color Stop: R=188, G=190 and B=192;
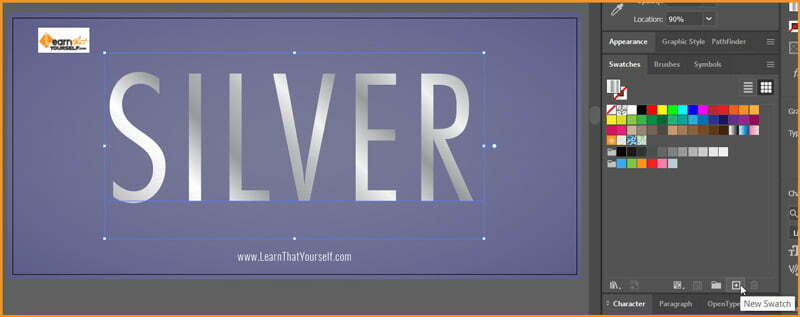
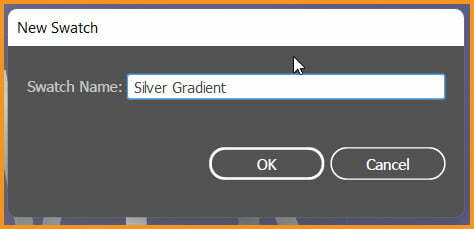
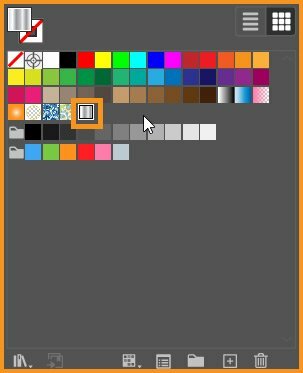
- Add this Gradient to Swatches for future use.
Related Topics:
- Width Tool in illustrator
- Shape Builder, Live Paint Bucket tool in illustrator
- How to use Gradient Tool in Illustrator
Add Glow
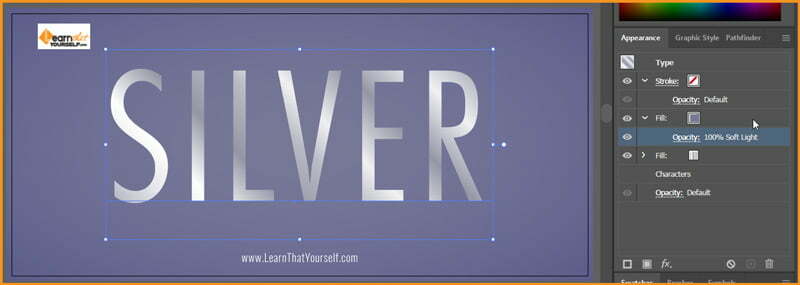
- Add New Fill in the Appearance Panel with color values of R=120, G=120 and B=151 with Blending Mode of Soft Light.
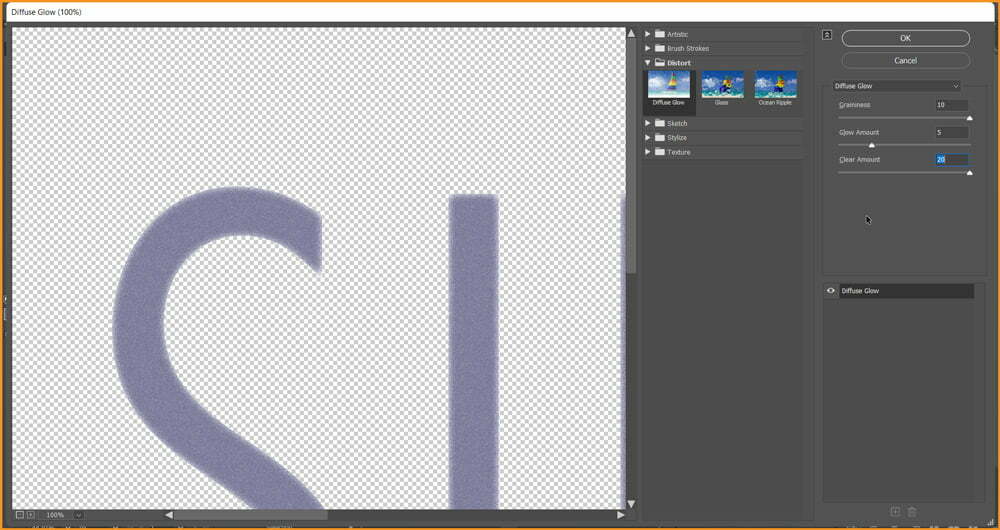
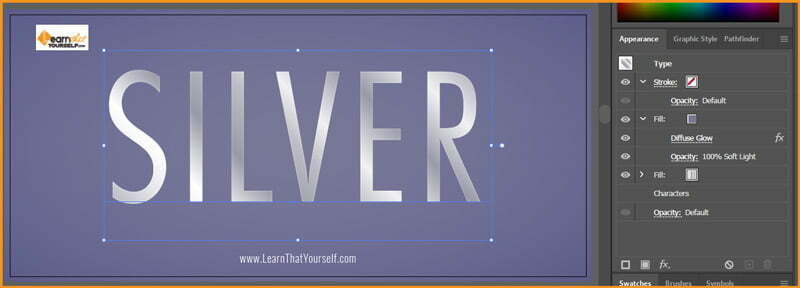
- Go to Effect > Distort > Diffuse Glow
Use Graininess value at 10, Glow Amount at 5 and Clear Amount at 20
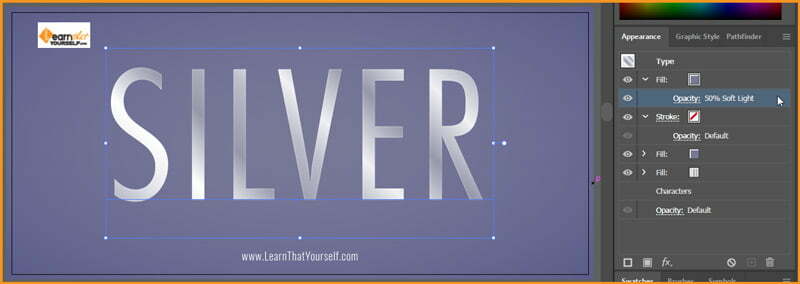
- Add New Fill with Color value R=120, G=120 and B=151; Opacity of 50% and Blending Mode set to Soft Light.
Related Topics:
- How to use Mesh Tool in illustrator
- How to make a Semicircle in Illustrator
- How to design a Retro Flower Pattern
Add Surface Shine
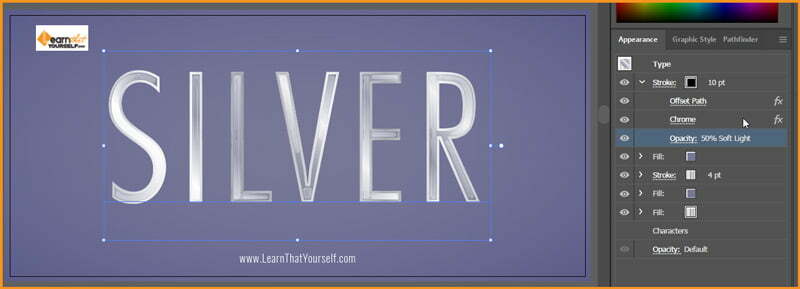
- Add New Stroke in Appearance Panel with 4 pt Stroke Weight. Apply the saved Silver Gradient to the stroke.
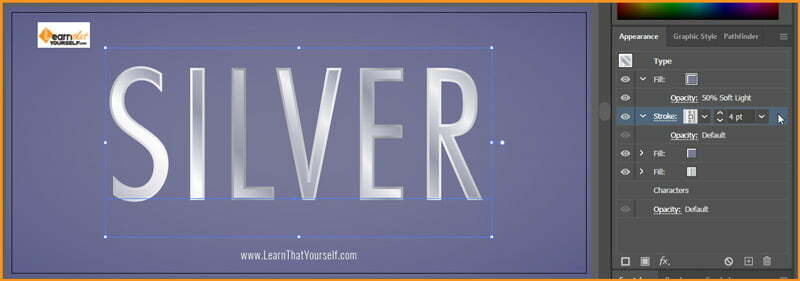
- Go to Effect > Path > Offset Path with -2 px value
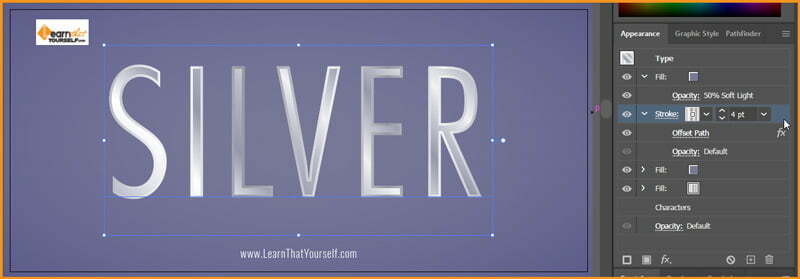
- Add one more Stroke with Stroke Weight of 10 pt, Black color, Opacity at 50% and Blending Mode set at Soft Light.
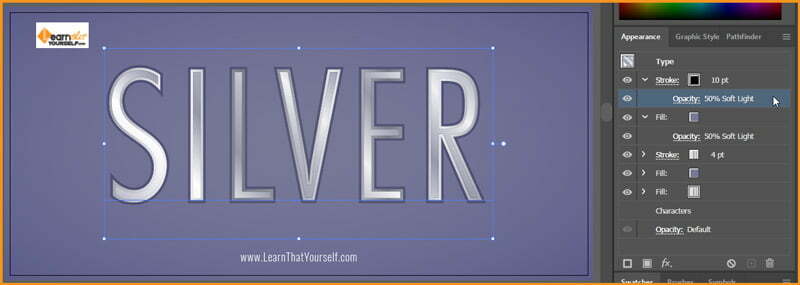
- Go to Effect > Path > Offset Path with -5 px value.
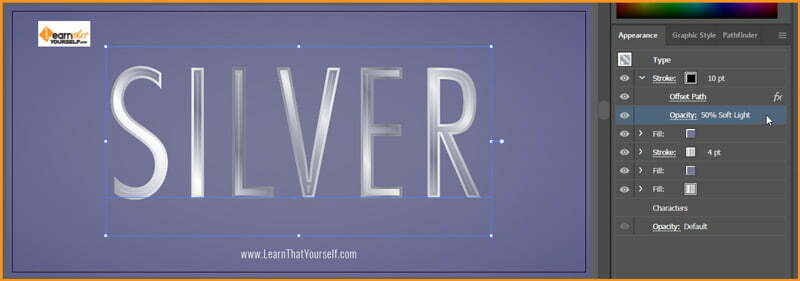
- Go to Effect > Sketch > Chrome with Details of 8 and Smoothness 10.

Related Topics:
- How to set Brush Pressure in Illustrator
- How to Create A Pressure Sensitive Brush in Illustrator
- How to Create Metallic effect in Illustrator
Add Shadow
- Select the bottom most Fill from the Appearance Panel.
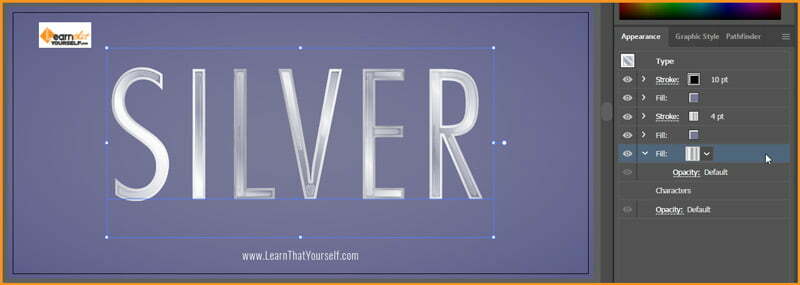
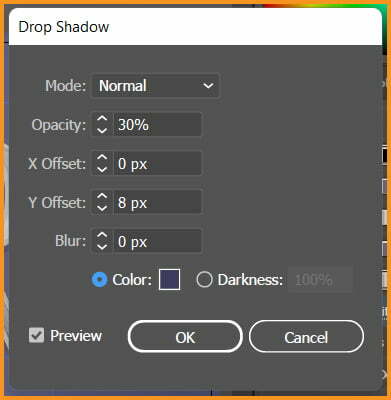
- Then go to Effect > Stylize > Drop Shadow with shadow color of R=61, G=60 and B=93 and other values as following:
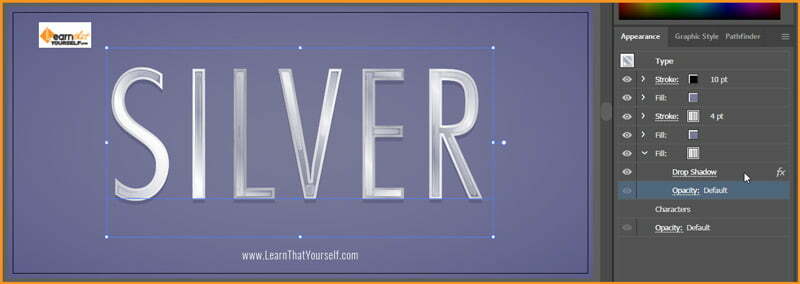
- Add New Fill layer in Appearance Panel and drag this new fill to the bottom in Appearance Panel.
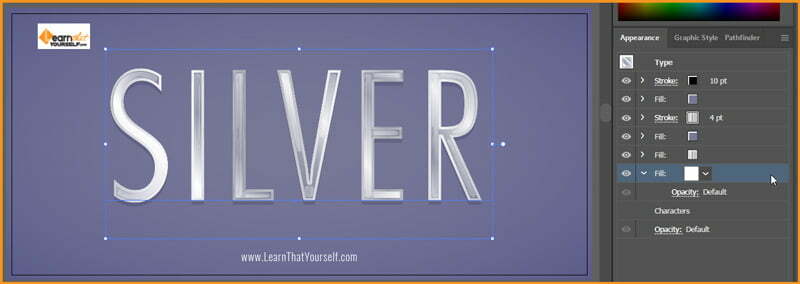
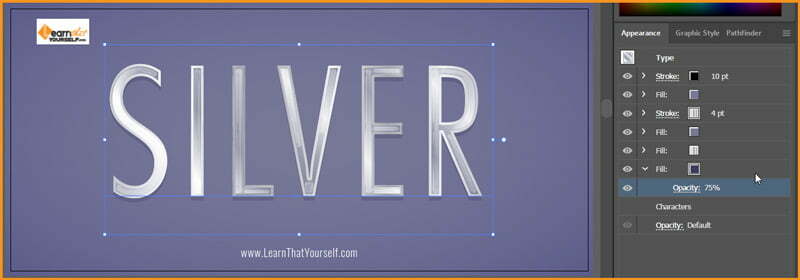
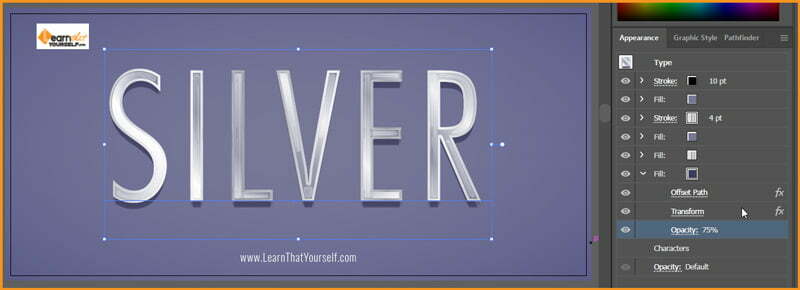
- Change the color of the selected fill to R=61, G=60 and B=93 with 75% of Opacity.
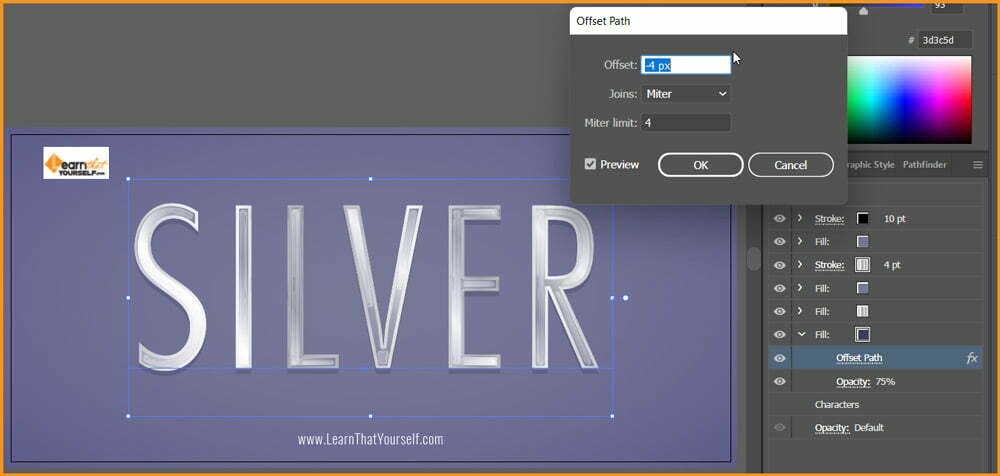
- Then go to Effect > Path > Offset Path with – 4 px value
Related Topics:
- How to Create Flower using Gradient Mesh in Illustrator
- How to Recolor Artwork in illustrator
- Color Mode
- Effect > Distort & Transform > Transform
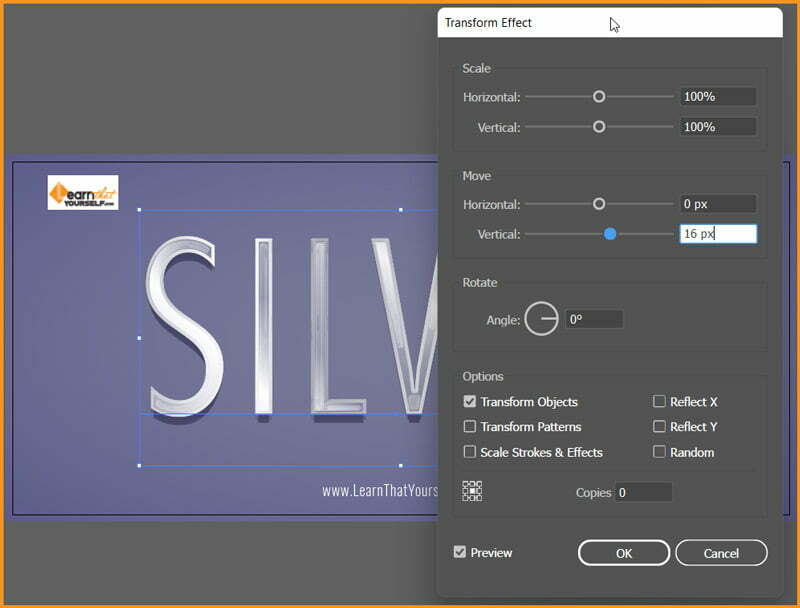
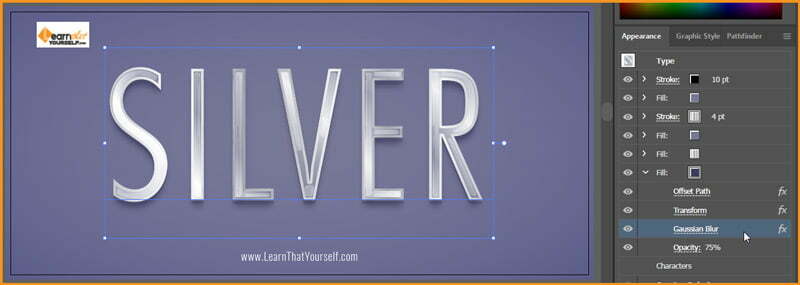
- Go to Effect > Blur > Gaussian Blur with value of 25 px
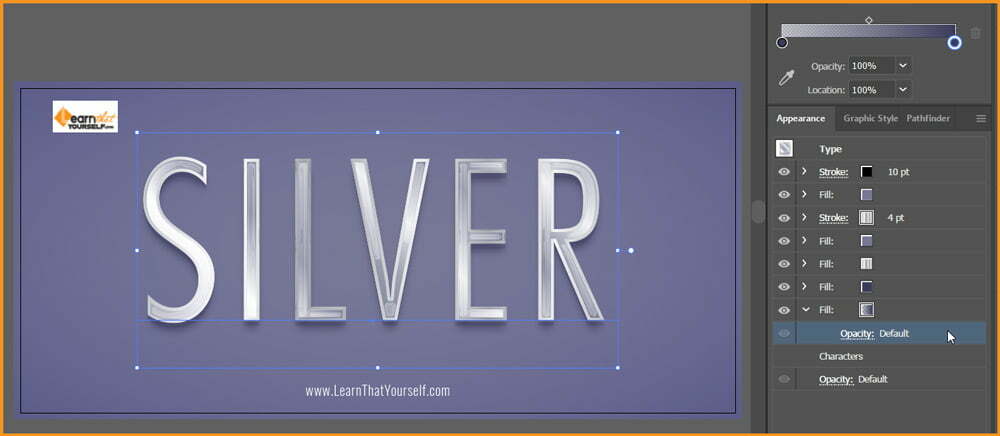
- Add New Fill in Appearance Panel and drag it to the bottom. Apply Linear Gradient from R=61, G=60 and B=93 at 25% opacity to R=61, G=60 and B=93
- Go to Effects > Distort & Transform > Transform
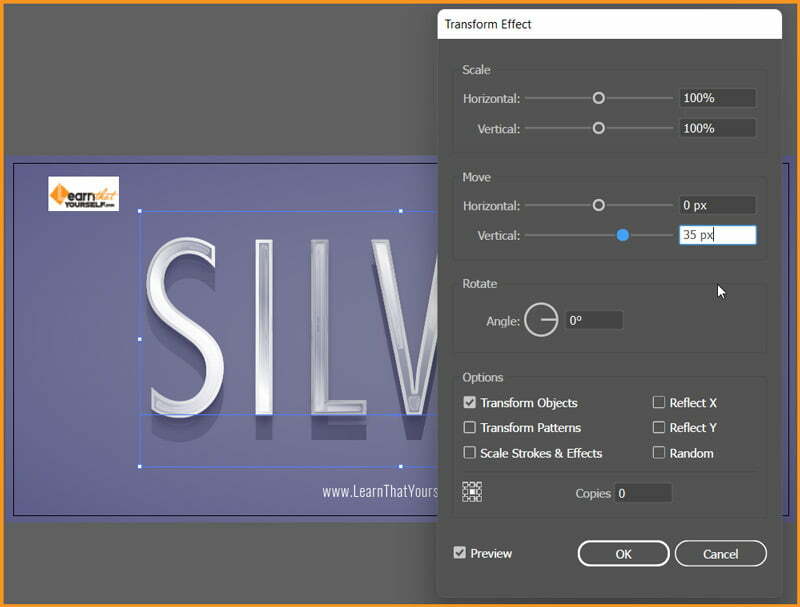
- Go to Effect > Blur > Gaussian Blur
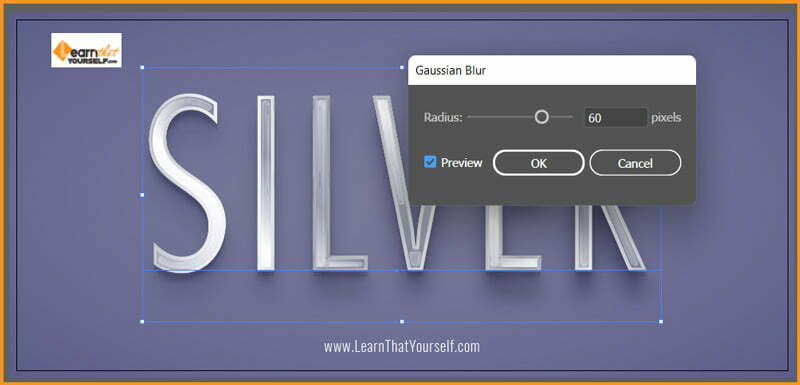
Final Result

Related Topics:


