In this Photoshop Tutorial, we will learn ‘How to Create Rain Effect in Photoshop’.
Table of Contents
Introduction
While creating an artwork like Manipulation or Matte Painting in Photoshop, emotions play a huge role in conveying the theme or message of the artwork.
There are various ways to convey emotions and one of the most powerful way is Rain. Rain, in itself, contains a number of emotions like Being Happy, Sad, Inspired, Excited, Romance, Love and even Hopeless etc.
So, with all these varing and opposite emotions, I hope that you understand the importance of rain. Let’s begin with our tutorial.
Related Topics:
- How to Add Falling Snow in Photoshop
- Step by Step guide for Retro 3D Movie Effect in Photoshop
- 5 Types of Masking in Photoshop
Image
As this is a tutorial based on the Rain effect only. So, I will select an image and create Rain effect on it using Photoshop.
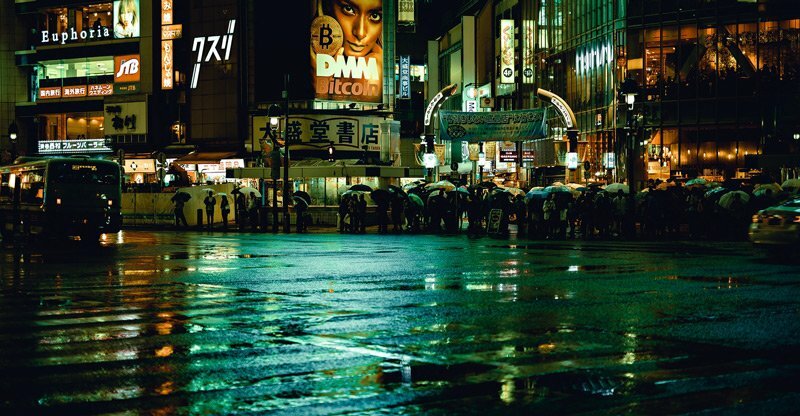
For rain effect, if you are also going to pick an image for practice then I would recommend either chose an image with some still water, wet surfaces or you will also need to add still water patches in it.
Create Rain Effect
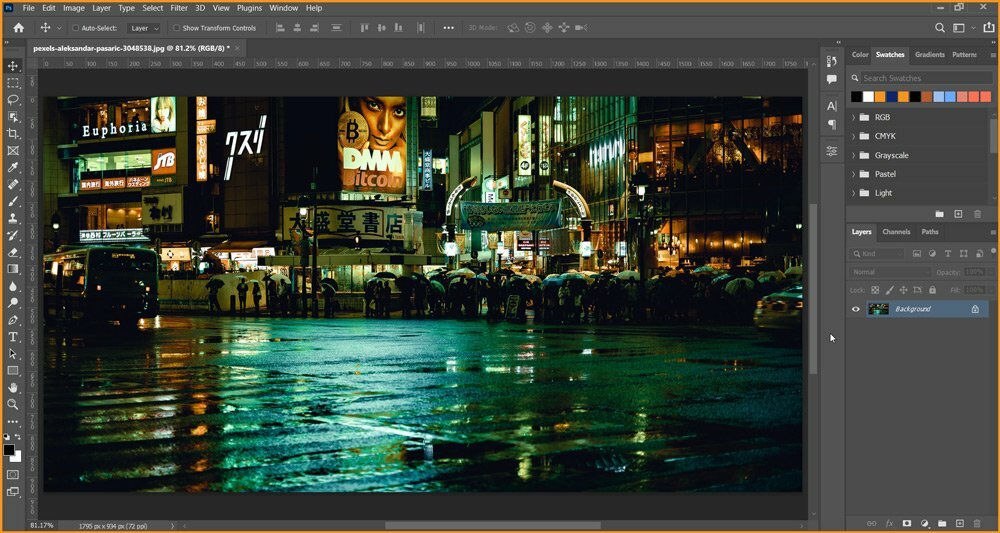
- Open the image in Photoshop.
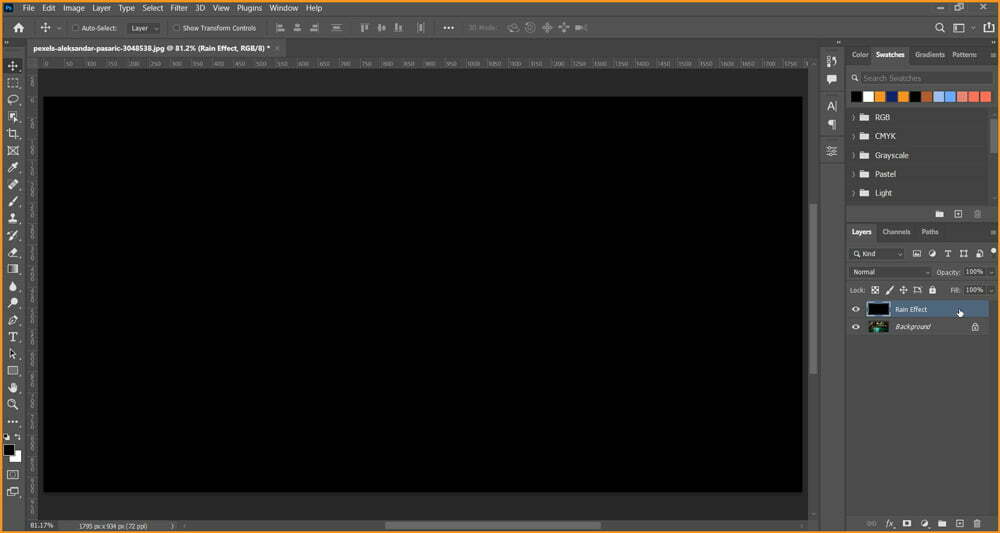
- Create a blank layer and fill it with Black color.
To fill the blank layer with Black color, make sure your Foreground Color is Black then use shortcut ALT + DELETE or we can also use Fill option under Edit menu.
Remember, after we Fill black color, Image will not visible to us anymore.
Related Topics:
- Photoshop Gold Text Effect
- How to enlarge an image in Photoshop
- Fade Command in Edit menu in Photoshop
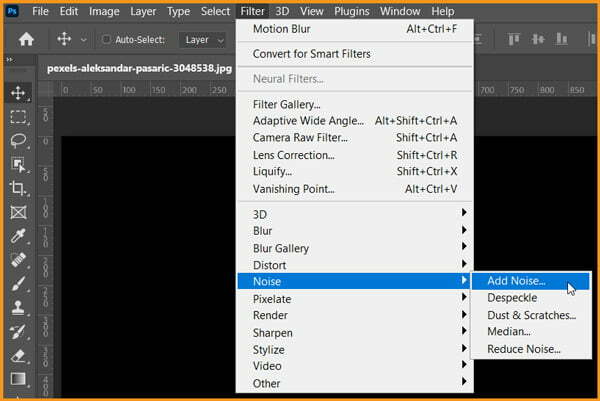
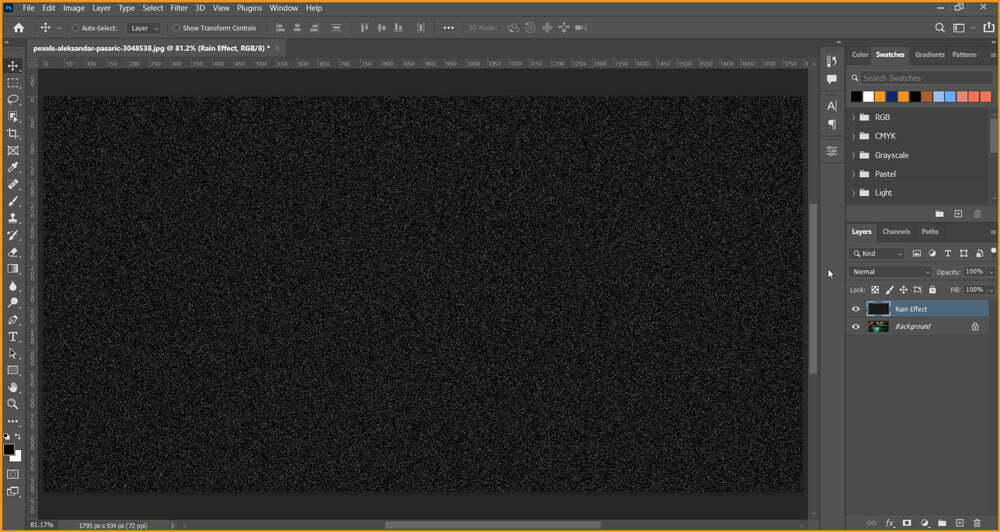
- Now, Add Noise…
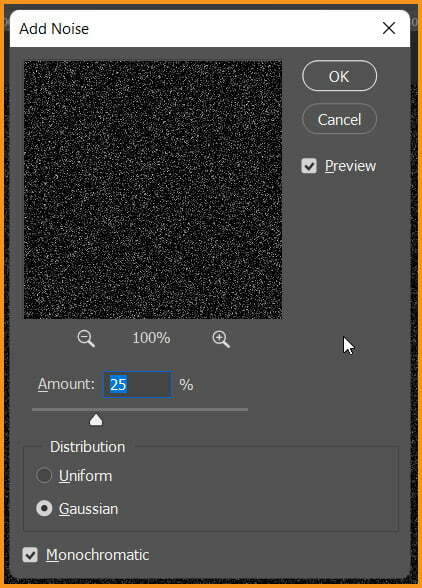
Go to Filter > Noise > Add Noise…
Amount should be 25%, Distribution method as Gaussian and also check the box before Monochromatic to keep the noise in Black and White.
Related Topics:
Currently, the dots in Noise are small and we have to scale them up using shortcut CTRL + T
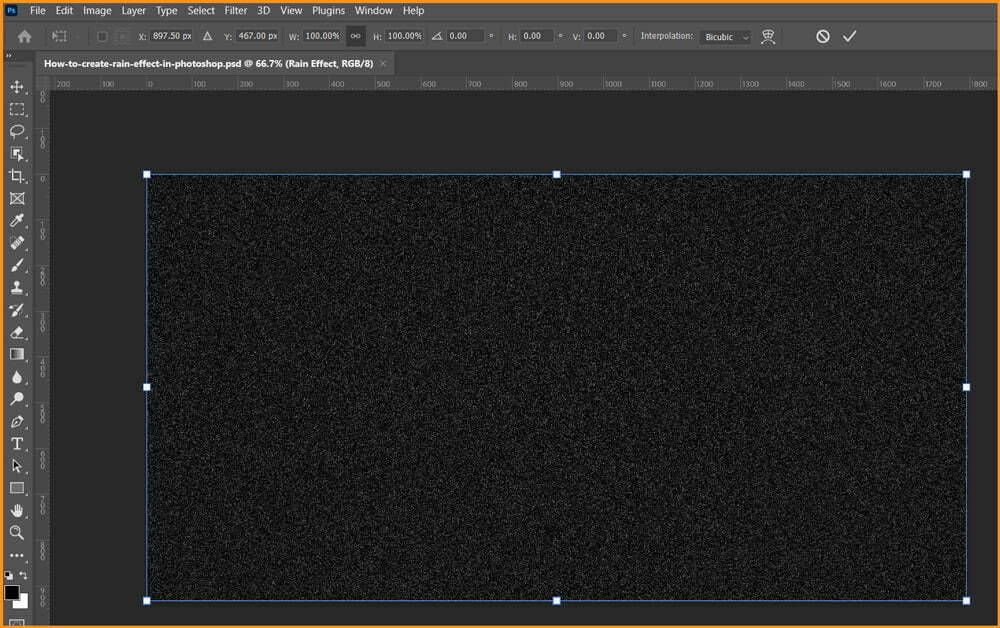
Focus on the option bar, increase the Width to 400% and Width and Height are constrained by default.

Press Enter to apply Transform changes. The result will look as shown below.
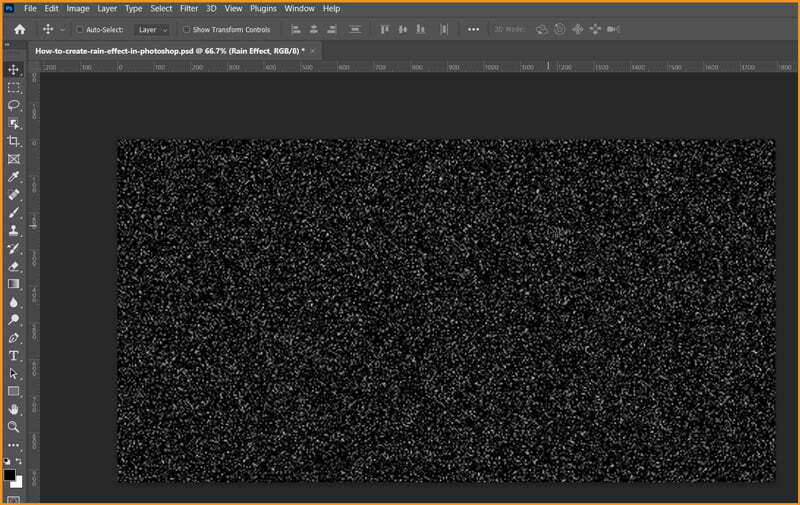
In the above step, we have simply increased the size of the Rain Effect Layer. If you face lagging issues in the upcoming steps then you should consider cropping off the extra parts of the image.
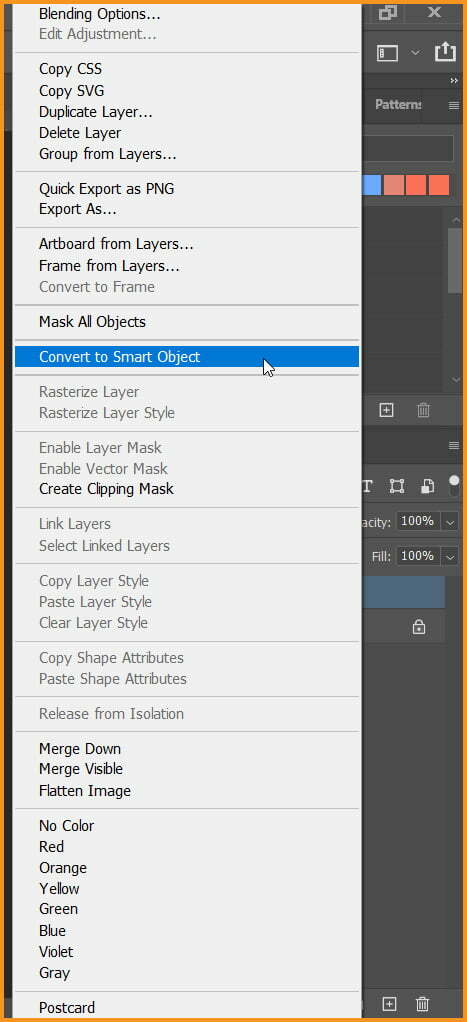
- Convert to Smart Object
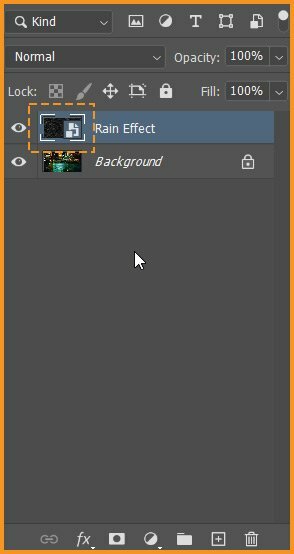
Now, we will convert our Rain Effect layer to a Smart Object. We can do it by right clicking on the layer an then chose Convert to Smart Object
Related Topics:
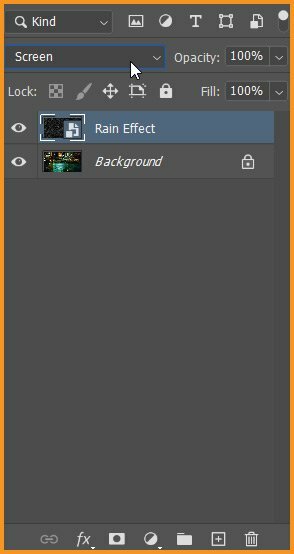
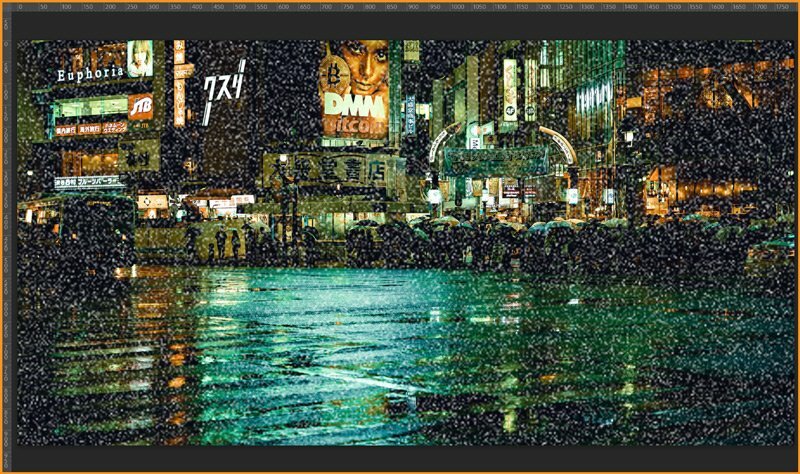
- Change the Blend Mode to Screen
- Add Motion Blur
Go to Filter > BLur > Motion Blur…
Angled at 75 degrees in this case and the distance will be 75 px
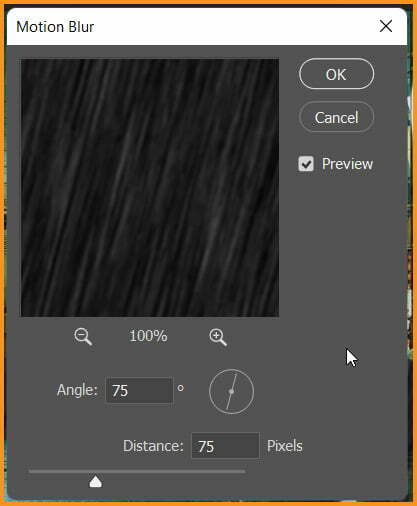
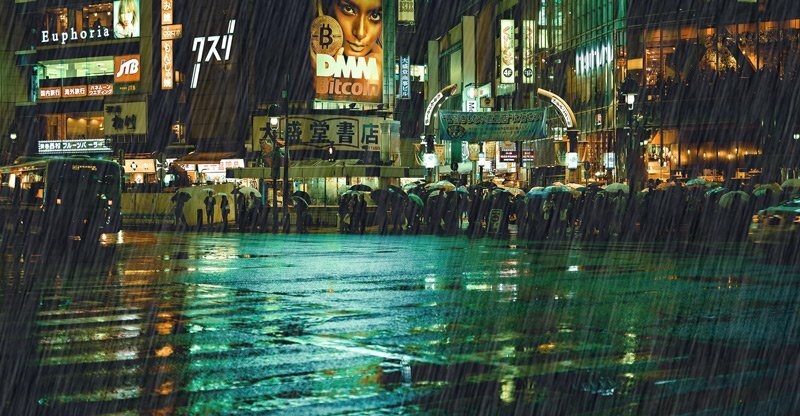
I have chosen these values as per my image and you may have to chose some other values depending on your image.
Related Topics:
Now, we need to adjust the effect and make it more clearer.
- Add Levels adjustment layer
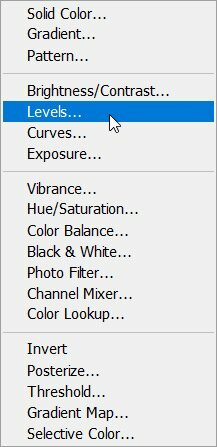
Click on the clip mask icon at the bottom of the Levels Properties.
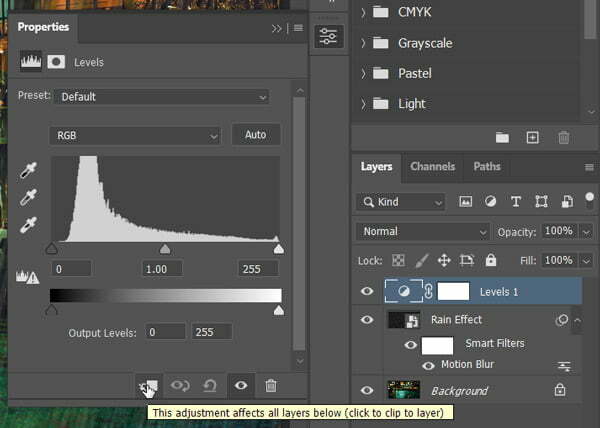
Adjust the Black slider to increase black and White slider to increase white. In my case, the Levels have to set to following values as shown in image.
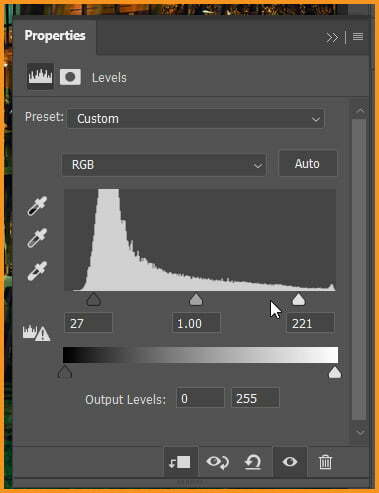
Result after applying the Levels ajustments.
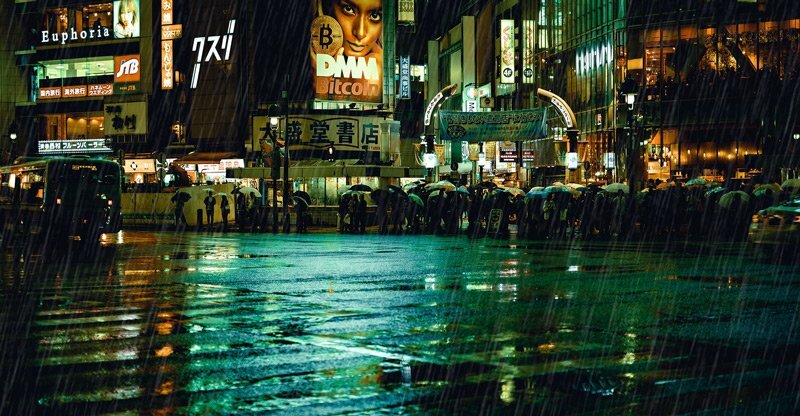
The result in this case still seems a bit intense. So, I will group the Rain Effect layer and Levels Adjustments layer together.
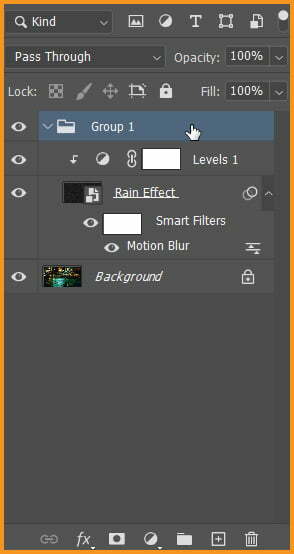
Then reduce the opacity of the whole group as you need. I have reduced the group opacity to 70%
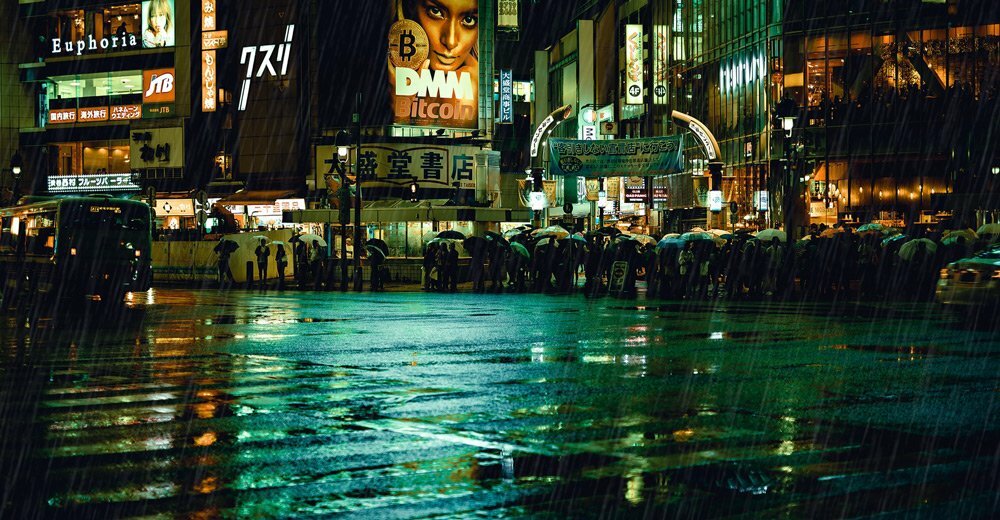
You can download the above PSD file here.
Related Topics:
- Transform command in Photoshop
- Auto-Align layers in Photoshop
- Auto-Blend Layers in Photoshop
- Sky Replacement in Photoshop
- Define Brush Preset in Photoshop
- Define Pattern in Photoshop
- Define Custom Shape in Photoshop
- Purge in Photoshop
- Adobe PDF Presets in Photoshop
- Presets in Photoshop


