In this Photoshop Lesson, I’ll teach you about, ‘Search in Photoshop‘. The panel box it opens it called Discover Panel. From Photoshop CC 2017 onwards, we use the Search feature to quickly find tools, menus, tutorials, tips, assets, documents, layers and more.
My name is Lalit Adhikari and we are at LTY. Let’s begin!
Table of Contents
Introduction
According to Adobe, Search in Photoshop or Discover Panel in Photoshop, helps to discover tools, hands-on tutorials, articles and quick actions to accelerate your workflows with the Discover Panel.
This panel offers contextually relevant help and learning resources to help us level-up and stay updated with new features in Photoshop.
There are following ways to open the Discover Panel:
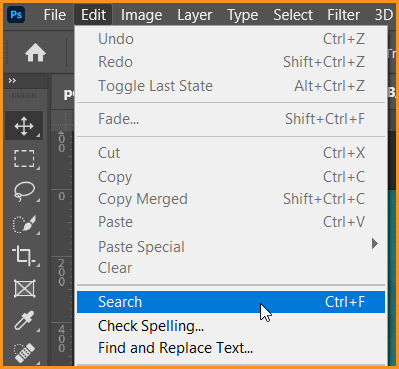
- By going to Edit menu then choosing Search command
- By using shortcut CTRL + F
- By going to Help menu then chose Photoshop Help
- By clicking on the Search icon on the option bar
But if in case, we have typed some search query, then first hit the Esc key to exit out of the search mode and then press Esc again to exit the Discover panel.
Related Topics:
Video Tutorial
Related Topics:
Discover Panel
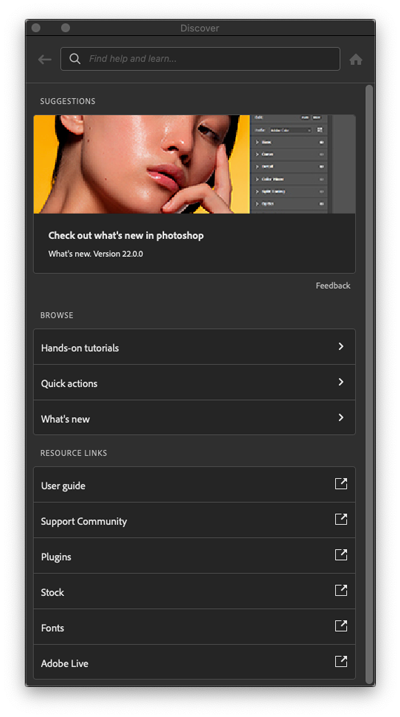
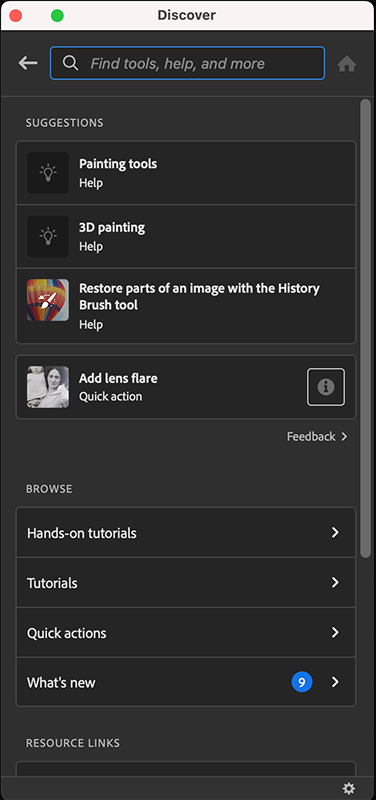
The Discover panel dialog box offers three helpful sections which are a follow:
- Suggestions
- Browse
- Resource links
Suggestions
Suggested content is shown at the top of the interface to jump start our learning journey. These suggestions will become more personalized based on our search history and the content we choose to engage.
Browse
Discover something new! We can skip our search and use this section to easily find Tutorials, Quick Actions and information about the latest Photoshop features.
Resource links
Quick external links to useful Adobe resources to help us continue learning and expand our Photoshop features with plugins.
Related Topics:
Search in Discover Panel
We can use the Discover panel search bar to access the full repository of tools, Photoshop tutorials, articles and Quick Actions to help us build our skills.
Searching in it, also offers auto-complete suggestions including suggested content, tool shortcuts and quick-links.
We can use the back arrow to return to the previous page or select the home icon in the right to start over again.
Search Results
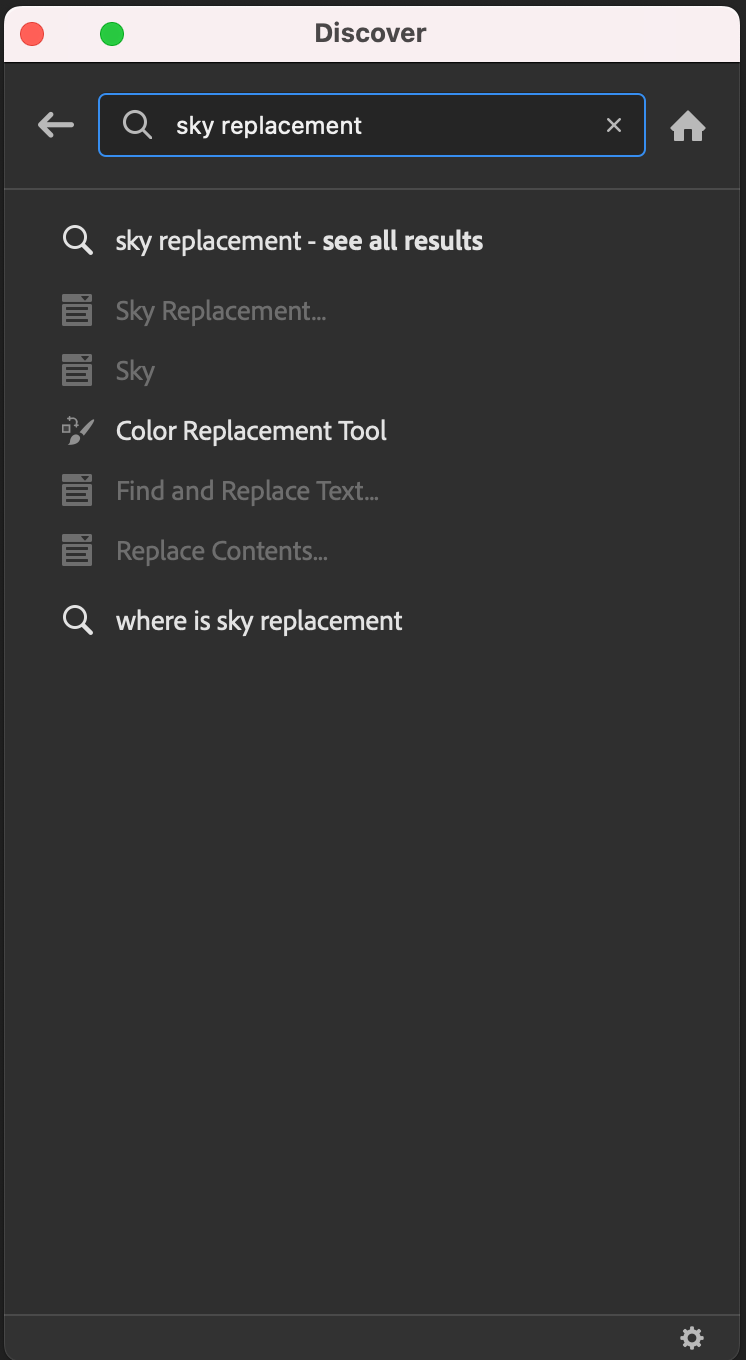
The Search results page organizes recommended content into easily identifiable categories. It provides Productivity optimized quick search results.
We can now find tools & features at the top, Quick Actions in the middle and other suggested searches at the bottom.
Related Topics:
Photoshop Tools
The Discover panel shows tools and menu items based on your search queries. When clicking on search results, a floating blue guiding mark will appear to help us discover where the tools or menu items are located.
Quick Actions
We can find Automatic Quick Actions available within Photoshop’s Discover panel to help us accelerate our workflow and complete complex transformations in a single click.
Note: The presence of a blue indicator on the Browse > Quick Actions entries indicates the availability of new Quick Actions.
We can easily apply Quick Actions when we click on a Quick Action card. In case we want to learn more about any of the Quick Actions then we can click the information icon.
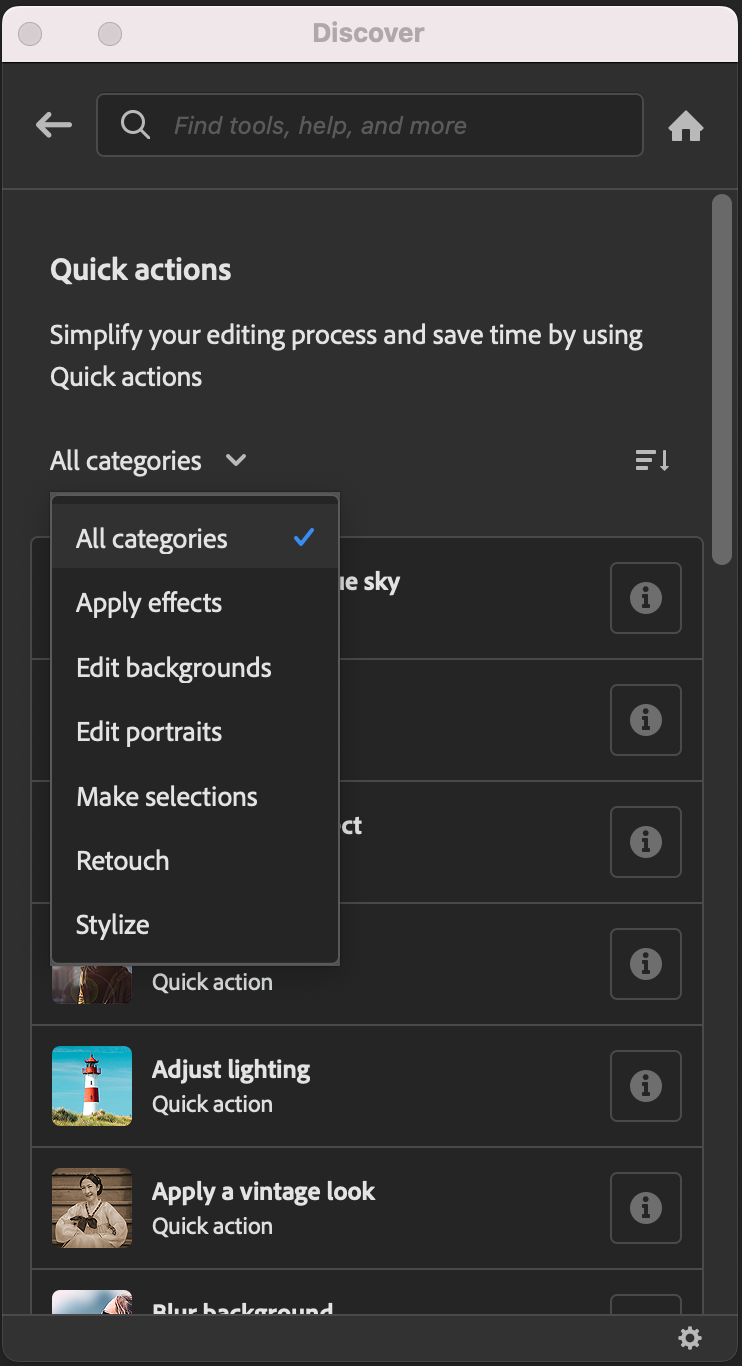
We have to simply open a desired Quick Action then click the Apply button and Photoshop will quickly complete the task on our currently open document.
Some Quick Actions are explained below:
- Remove background: Automatically detects and removes the background from our image.
- Blur background: Blurs the background of our image.
- Make B/W background: Converts the background of our image to black and white while preserving the color of subjects in the foreground.
- Enhance image: Auto-enhances our image by making adjustments to elements like brightness, sharpness, hue or contrast.
- Duotone Effect: Gives a dramatic, colorful effect that’s perfect for high-contrast pictures.
- Smooth skin: Reduces imperfections in a face such as blemishes and acne.
- Style transfer: Adopts the appearance or visual style of a source image and helps us apply it to our own image.
- Add a vignette: Darken the edges of an image to bring subtle focus to its center.
- Diffuse Glow filter: Simulate the effect of a diffusion filter to get a hazy, dreamlike look.
- Remove JPEG artifacts: Make an image look sharper with this filter which cleans up imperfections resulting from compression.
- Make image B/W: Convert a color photo to black-and-white by desaturating it.
- Stained Glass filter: Break our image into brightly colored panes. Refine cell size and more to get the right look for our subject.
- Apply a vintage look: Use a combination of adjustments and filters to make our photo look like it’s from another era.
- Caricature face: Exaggerate facial features and stylize colors to get a cartoonish look, complete with puppy-dog eyes.
- Add a tropical blue sky: Complement our subject or bring a surprising contrast by replacing the sky with one that’s serene and bright.
- Charcoal filter: Give our photo the bold and dramatic look of a charcoal sketch.
- Select subject: Automatically select the subject in an image so we can get right to editing.
- Select background: Automatically select the background in an image so we can get right to editing.
- Select sky: Automatically select the sky in an image to make adjustments or replace it.
We can click the Revert button if we want to reverse the changes. We can also use the History Panel to undo or step back through any edits performed by the Quick Actions.
Related Topics:
Neural Filters
The Discover panel offers a search experience on the new set of filters that are available under the Neural filters feature.
Auto-complete suggestions are available while typing a search query that matches the name of a filter available under Neural filters.
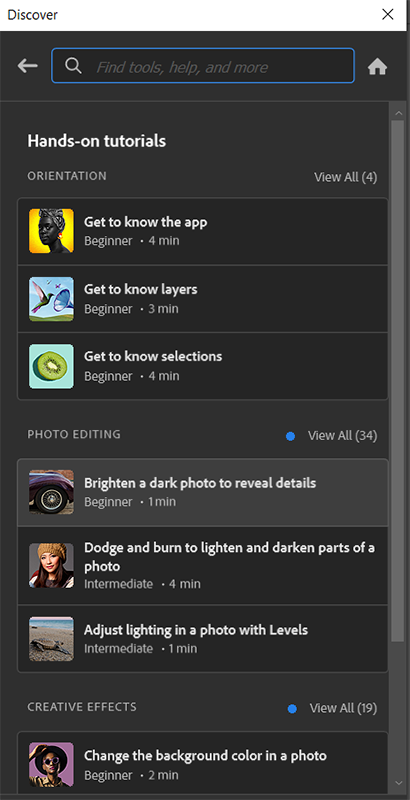
Tutorials
Photoshop features in-app tutorials that can walk us through techniques and guided workflows so we can quickly complete tasks.
We can simply click Browse > Hands-on tutorials to begin our step-by-step learning journey.
If there is a presence of a blue indicator on the Hands-on tutorials entries, it indicates the availability of new tutorials.
With every newer version of Photoshop CC, the browse capabilities of tutorials will been improved:
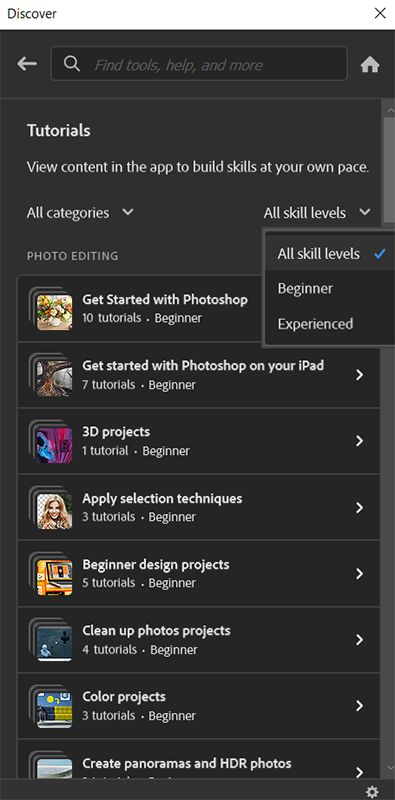
- Browse tutorials: Tutorials can now be browsed by category and playlist. Now it’s easy to see additional tutorials that are in the same playlist to better support getting help and learning.
- Enhanced hands-on tutorials browse: The Browse capability for Hands-on tutorials now allows filter for category and skill level.
Related Topics:
What’s New
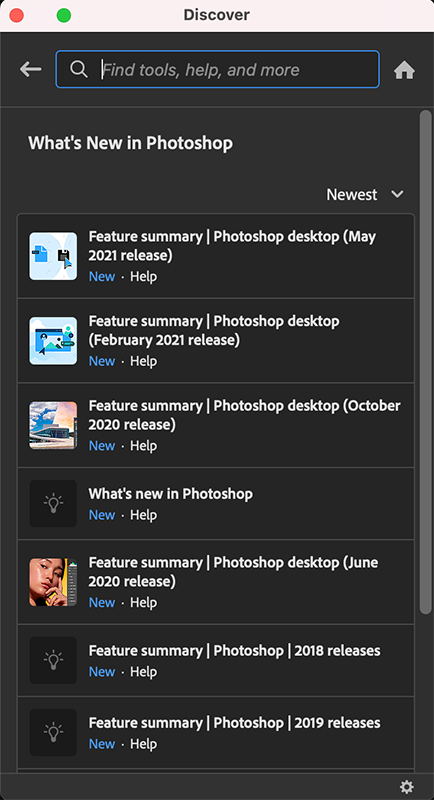
It is one of the content under Browse category in Discover Panel. What’s New content highlights new Photoshop features in the Discover panel.
Help Content Online Mode
This can only be accessed by an active internet connection, we can now access help and learn content directly in Photoshop. We simply need to click on any help content to start learning.
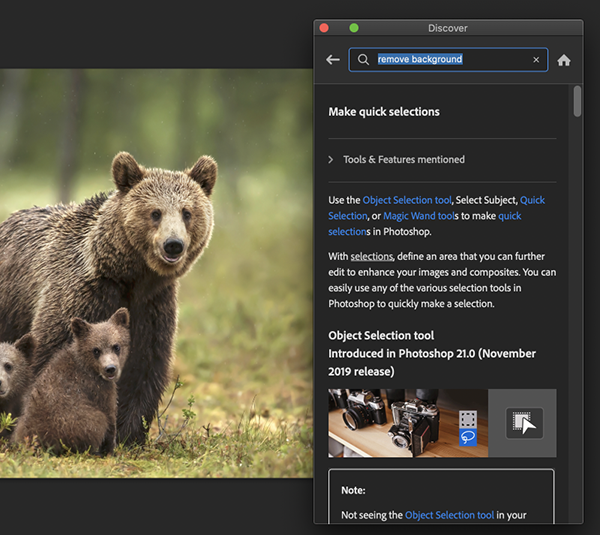
All the tools and features mentioned within articles will be displayed at the top of the panel.
Any menus and tool mentioned within articles are highlighted and display a floating blue coach mark on hover to help us discover where the tools or menu items are located.
Related content can also be found at the bottom of an article to help us continue learning.
Related Topics:
- Remote Connections in Photoshop
- Assign Profile in Photoshop
- Convert to Profile in Photoshop
- Keyboard Shortcuts in Photoshop
- Menus in Photoshop
- Toolbar in Photoshop
- List of websites for Royalty Free images
- List of websites for Royalty Free Raw images
- What is Photoshop
- Tools in Photoshop


