In this blog, I will be discussing about ‘Burn tool in Photoshop‘, ‘Dodge tool in photoshop’, ‘Principle of Dodging & Burning’, ‘Techniques of Dodging & Burning’ and ‘Sponge tool in photoshop’.
I am Lalit Adhikari, we are at LTY. Let’s begin.
Table of Contents
Burn Tool in Photoshop
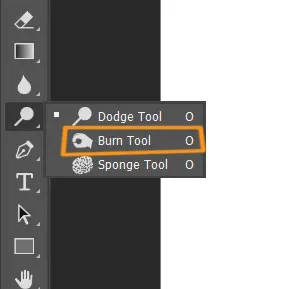
Burn Tool in Photoshop is used for burning or darkening of certain parts or segments of images.
Dodge Tool in Photoshop
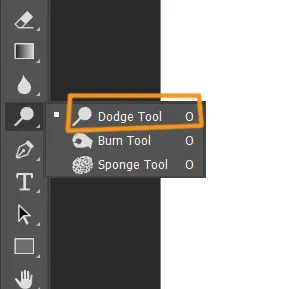
Dodge Tool in Photoshop is used for Dodging or brightening of certain parts or segments of images.
Related Topics:
- Blur, Sharpen & Smudge Tool in Photoshop
- Foreground Color, Background Color, Stroke & Fill
- Eraser tool in Photoshop
Principle of Dodging & Burning
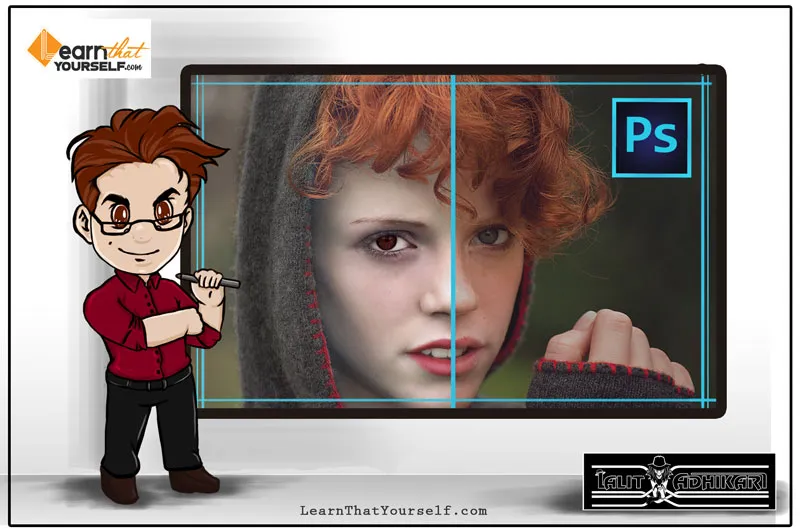
Dodging and Burning are brightening and darkening particular areas of the image to add depth and dimension to it.
Any area which is protruding in the direction of light has to be brightened. And any area which is facing away from the direction of light has to be darkened.

In the dodge tool, you can brighten parts of the image and in burn tool, you can darken parts of the image. And with this tool, you can choose any brush you like as you got all your normal brush settings with this tool.
In ‘range’ you can choose between mid-tone, shadows and highlights and these ranges generally help you to dodge and burn in the shadowy and highlights part of the image a bit better.
You also have ‘exposure’ options, and the higher you set the exposure the more powerful the effect is going to be. You can reduce or set the exposure to any number you want.
We can also ‘protect tones’ which basically keep your image from getting completely washed out and losing contrast, so it’s better to keep that option checked on.
Techniques of Dodging and burning
- You can simply go and create a new layer. Take the brush and make sure the colors on the foreground and background are black and white. Change the blend mode to ‘overlay’ or ‘soft light’ (‘soft light’ is simply the milder version of overlay). Lower the brush flow and simply paint black to the area where you want to darken and white on the area you want to brighten.
- Another way is to add a grey layer. And the process remains pretty much the same. Now, if you look closely at the layer panel, the layer you are working on is painted grey but still, the grey is not visible on the canvas. And this is because soft light and overlay blend mode delete everything which is 50% grey.
- Another method to add dimension with the burn and dodge tool is by curves. Firstly, create an adjustment layer and darken the image by lowering the curves, then invert the mask by clicking on Ctrl + I. After doing that make at least two copies of this layer and reason for creating copies of those layers is because you must target different areas of your image separately. So, let’s select the mask of the first copied layer, and then select the brush tool making sure the foreground color is white. (In masking, the black color conceals and white color reveals what’s underneath the mask).
- Now, darken those areas which are facing away from the light or are usually darker. On the second copied layer, take up the curve so that the image will be brighter. Now, you might not see the effect as the layer is masked. And in this layer, you can do the dodge effect so paint over the areas that are exposed to light with white as foreground color. In dodging, we brightening the areas of the subject which are facing in the direction of light or any areas that you want to protrude.
And these methods are very convenient because of the flexibility and non-destructive qualities of it.
If you find, the dodging and burning effect too much over-whelming for your picture then you can lower the opacity or increase the feather of your mask of those layers to make the effect more subtle.
Whenever it comes to dodging and burning the objective is not just limited to just add dimension to the image, you can also decrease or remove any depression or extrusion using dodging and burning.
For example: you choose a portrait image of a lady and she has wrinkles on her face and it’s depressed inside underneath the eyes, so you can brighten up that area and bring it forward.
Or suppose an area is protruding, you can darken the highlight of that area and get it inside. When you are doing dodging and burning, and if you are doing it too much then you can probably see some color shifts.
So, to fix that, clip a ‘hue and saturation’ adjustment layer and lower the saturation value of your burning and this will solve the color shift problem.
Related Topics:
Sponge tool
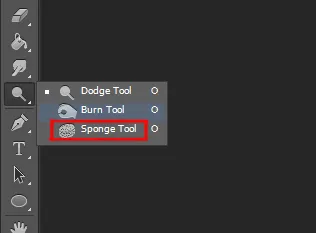
It is located beneath the dodge and burn tool and is the last option on the fly-out menu. Now, just like any other Brush Tool in Photoshop you can adjust size, hardness or get a custom brush.
There are two modes in this tool that is ‘saturate’ and ‘desaturate’, and what it does is, it paints in saturation or suck the colors out of your image as you paint respectively.
You can quickly switch between these two modes by hitting shift + on your keyboard. You can also adjust the ‘flow’ which is the intensity at which you are putting saturation in or extracting color via desaturate.
And in ‘Vibrance’, you should probably keep it checked on because it deals with the color a bit better in Photoshop.
Note: This tool is also very rarely used directly on images because it creates destructive editing. So, always use them on a 50% grey layer with blending mode of that layer as Overlay or Soft light.
Related Topics:
- Image menu in Photoshop
- Select menu in photoshop
- Filter menu in Photoshop
- View menu in Photoshop
- Window menu in Photoshop
- Photoshop Channels
- Dual light effect
- Feather in Photoshop
- How to create New Document in Photoshop
- Color Settings in Photoshop







Interesting stuff, very informative, thank you
Thank you, it was helpful and good info on burn tool, dodge tool and sponge tool. Thank you again.