In this blog, I will be teaching about ‘Retouching in Photoshop‘ or “How to retouching a face glamorously like a professional”. I am Lalit Adhikari and we are at LTY. Let’s get started!
Related Topics:
- Burn, Dodge & Sponge Tool in Photoshop
- How to use Gradient Tool in Photoshop
- Healing, Clone & Pattern Stamp Tools in Photoshop
Introduction
In one of my previous blog, I’ve told you about Healing tools in Adobe Photoshop and how to use them. Then in another blog about Skin Retouching, I talked about Skin Smoothening and Skin texture recreation. In this blog about retouching, I will tell you specifically about skin retouching and techniques you can use to make the skin look glamorous.
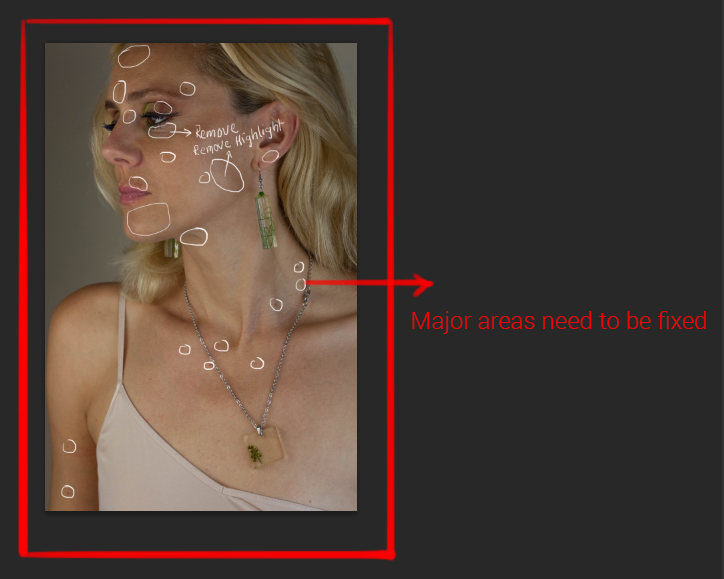
In the first step, just grab your brush tool and circle out things that you think needed to be fixed. Always make a habit of doing this step so that you can know what you want to do before starting to apply the retouching process.
Related Topics:
Heal image
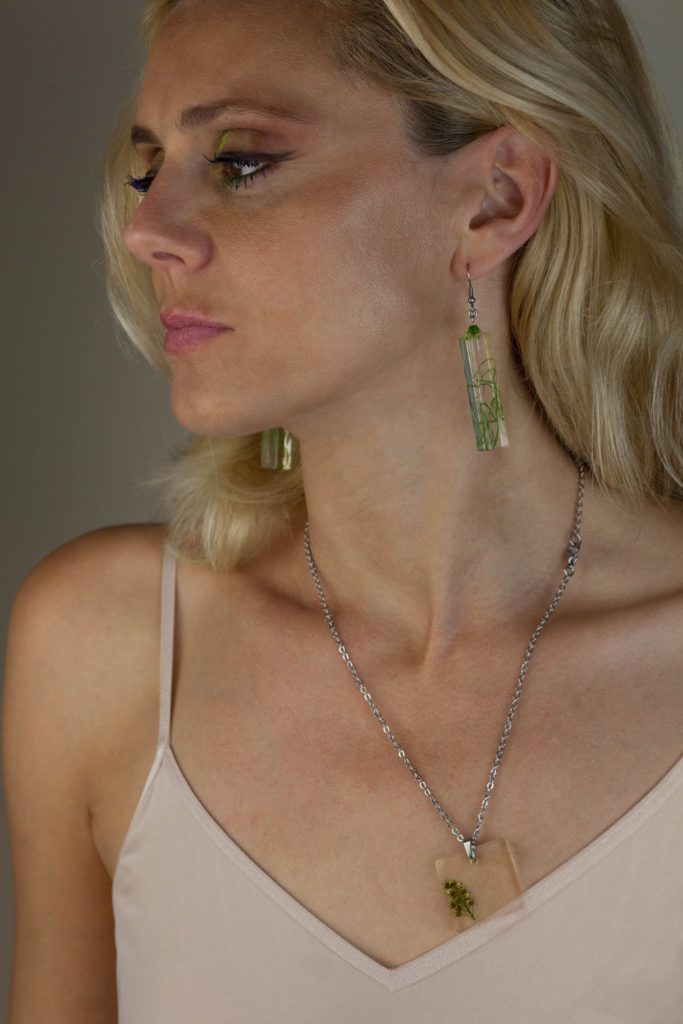
After you are done with circling the areas you want to fix, hide this layer and make a new layer for healing the skin. Now, take healing brush tool which is the second option in the flyout menu of Healing Tools. And I think it is the best tool for retouching when you are fixing the little details.
Set the ‘Aligned Sample’ option to ‘Current & Below’ or ‘all layers’ so that your healing tool can work on a blank layer too. Make sure to sample the skin texture from the area close to where you are actually painting.
When you will apply the healing brush over the blemish, the skin texture from the sampled area will blend with the color of the area where you are painting. In skin retouching, always start off with relatively small texture and then move on to larger blemishes.
Related Topics:
Reshaping
After retouching the skin, move on to eyebrows. Create a neat eyebrow path with the pen tool and save the path in the path panel.
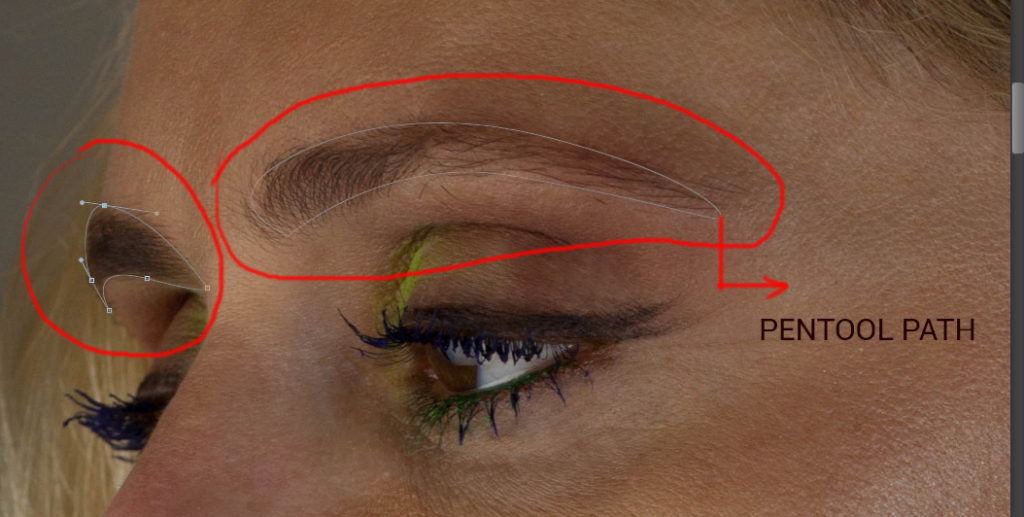
Now make a selection of these paths by going to the path panel, right click over it and select the option ‘make selection’. A dialogue box will open up where there are ‘feather’ options.
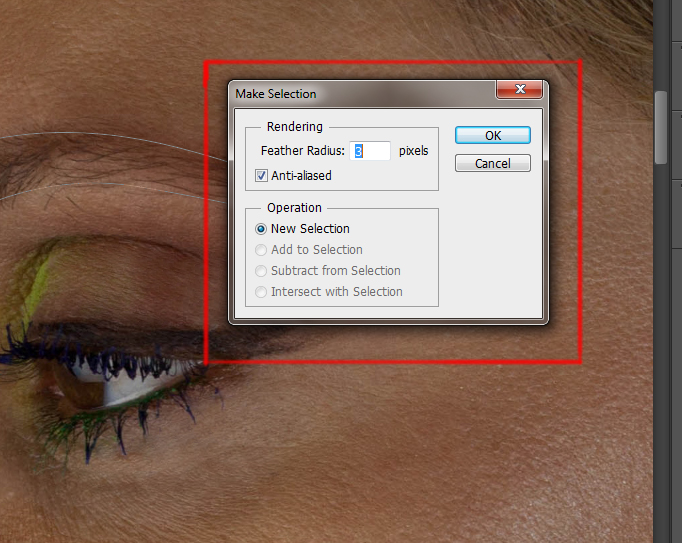
Here it is very important to feather the radius or else the retouching will look fake. Now, after making the selection, invert it by clicking Ctrl + Shift + I or go to Select Menu and choose the ‘Inverse’ option.
So, instead of the eyebrow, everything outside the eyebrow is selected. Take the clone stamp tool and start to paint over the extra hairs outside the selection to get neatly shaped eyebrows. Create a layer mask of the eyebrows layer if they are looking too precise and with a black brush of low opacity create feather on the edge of your selection.

That was reshaping the eyebrows. Moving on to some general skin smoothening, create a merged layer by hitting Ctrl + Shift + Alt + E and then Ctrl + J for creating a duplicate copy.
Invert the layer by pressing Ctrl + I and change its blend mode to ‘vivid light’. Run a ‘High Pass’ filter over that layer with a relatively low ‘pixel radius’ value. Now, selecting the same layer to apply a Gaussian blur filter, it will create an opposite blur effect over the high pass filter.
Create a black mask over that layer and with a white brush of low opacity paint over those areas where you want to create the blur.
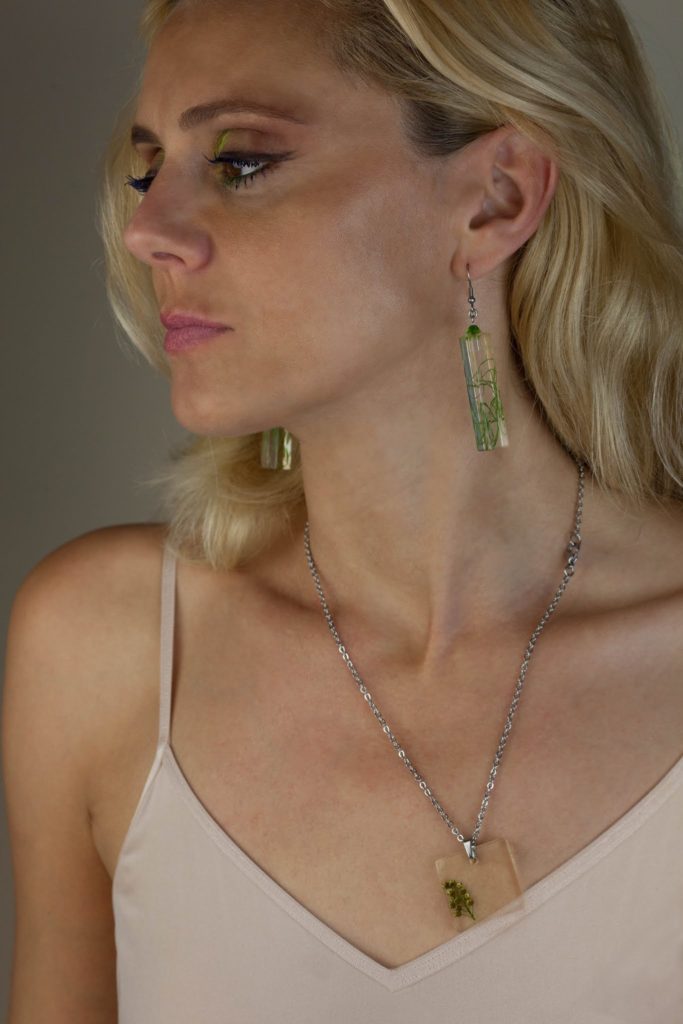
Related Topics:
Applying make-up
Next step is retouching the eyes. With a white brush paint over the eyeballs and change the layer mode to overlay and you can see that it adds a bit of detail to the eyes.

The next step of the retouching will be applying makeup. With a new layer, select the brush tool and start painting over the eyes with a low opacity. Keep the layer in ‘multiply blend’ mode so that it can blend well with the skin.
Now, we can blend this makeup more with the skin by by ‘blend if‘ technique. In this technique, you can choose whether to have the layer visible or not visible where the underlying layer is darker or lighter.
Double click the ‘make up layer’ and you will get the dialogue box. Down the bottom, you can see ‘blend if’. Here, you have the option for ‘This Layer’ which is the makeup and ‘underlying layer’ which is the face of the subject. And you can change this according to your image.
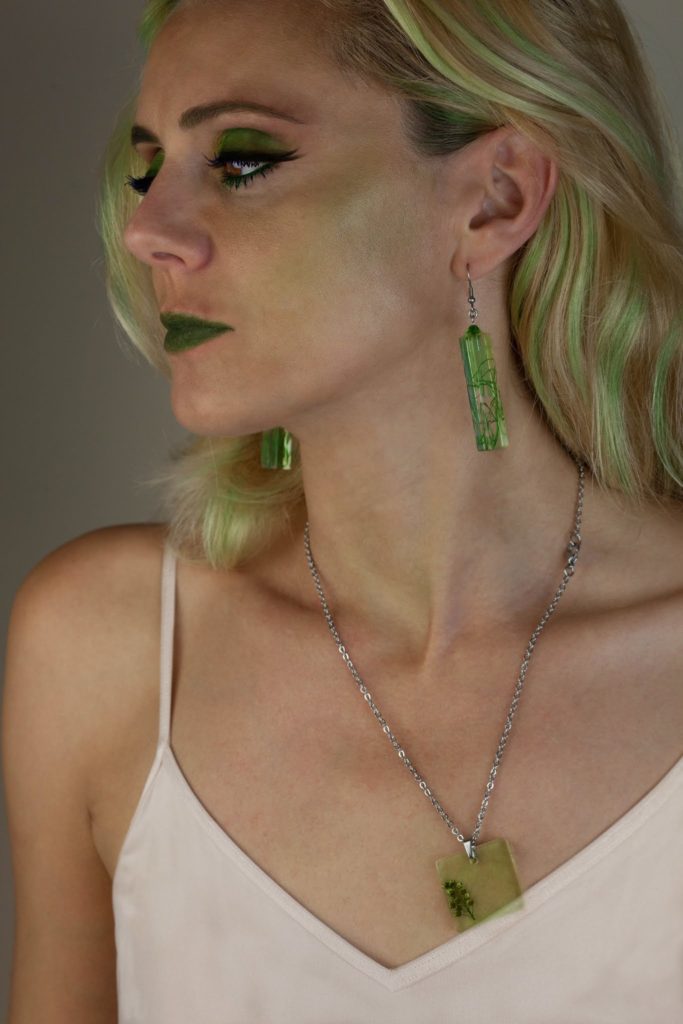
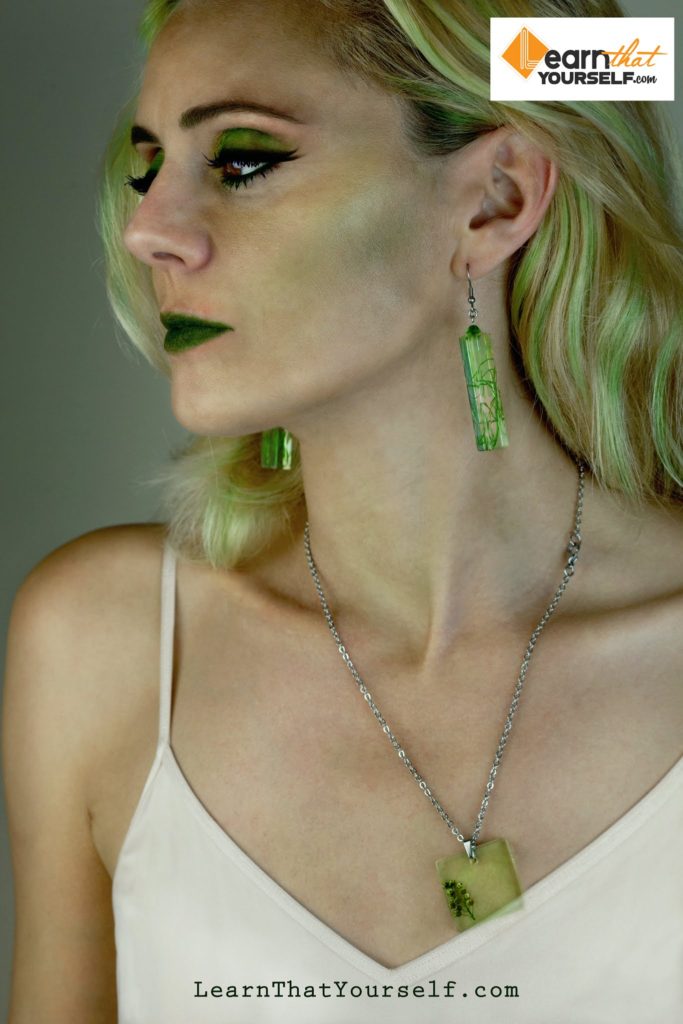
After a bit of burning, dodging and applying makeup, the image is pretty much retouched and is ready for getting into the cover of any glamour magazine (of course we need to change background and crop it a bit but here my focus was only about skin).
Related Topics:








Nice Sir
Thank you…!!..