In this Photoshop Lesson, we’ll learn about ‘Define Pattern command in Photoshop‘ and ‘How to make a pattern in Photoshop’. Define Pattern command is available under Edit menu in Photoshop.
My name is Lalit Adhikari and we are at LTY. Let’s begin!
Related Topics:
What is a Pattern in Photoshop
A pattern is an image or visual that is repeated or tiled. Tiling, here, means sub-dividing a computer graphics selection into a series of squares and placing them on a layer or within the selection.
We can use patterns in Photoshop to fill a layer or selection. Photoshop comes with various preset patterns. We can create new patterns and save them to use with different tools and commands.
Preset patterns are displayed in the pop-up panels in the option bar for the Paint Bucket tool, Pattern Stamp tool, Healing Brush and Patch tools as well as in the Layer Style dialog box.
We can change how patterns are displayed in the pop-up panels by choosing a display option from the pop-up panel menu.
Related Topics:
How to make a Pattern in Photoshop
To make a pattern from a image, we’ll need a base image. This base image will provide us with parts to be used as pattern. For this tutorial, I’ve chosen the following image.
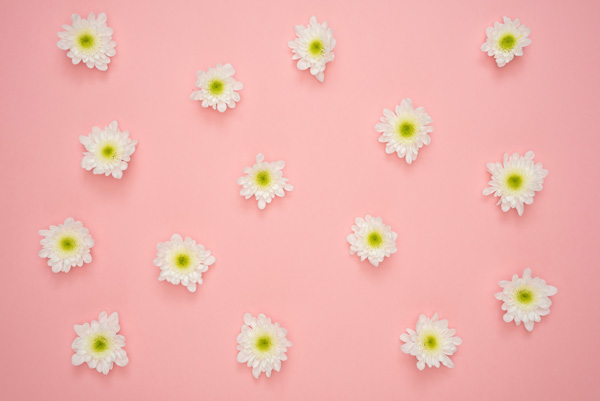
Now, follow the steps below.
Step 1: Open image in Photoshop
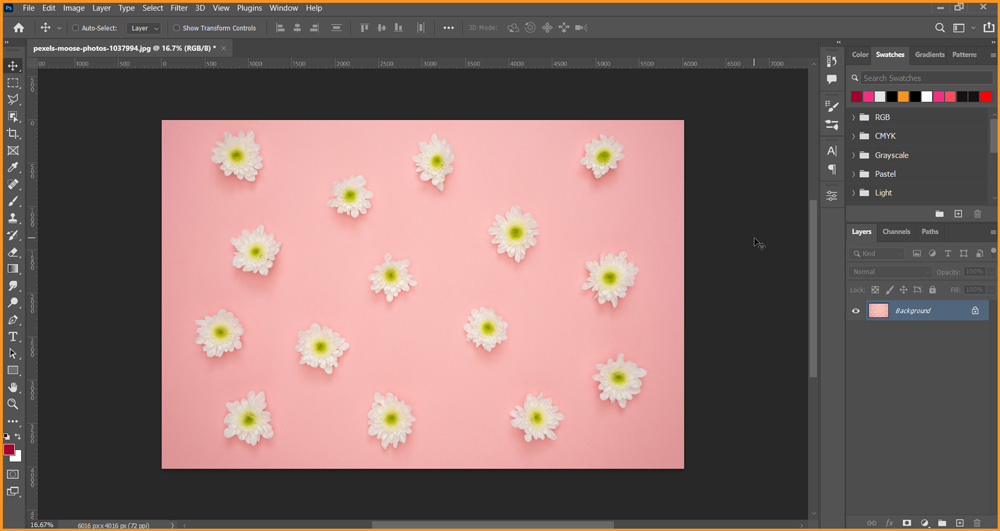
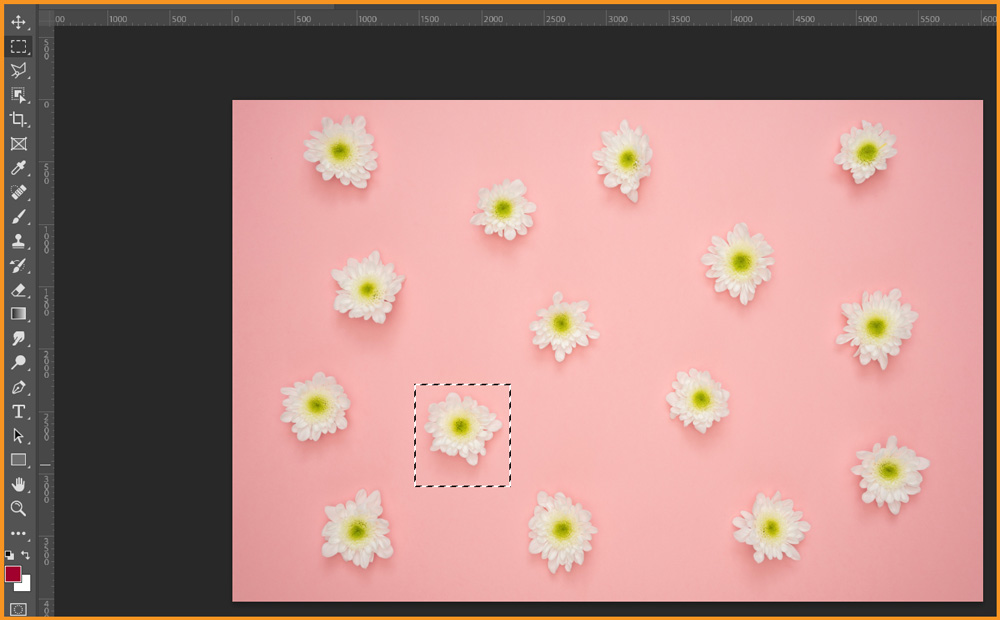
Step 2: Select Rectangular Marquee Tool
Select Rectangular Marquee Tool and create a selection around the part of the image to be used as pattern.
Step 3: Go to Edit > Define Pattern…

The following dialog box will open.

Enter a name for the pattern and click OK.
Step 4: Create a New Document
Now, we’ll create a New Document to try out our new pattern.
Step 5: Go to Edit > Fill
After creating new document, go to Edit > Fill and chose following settings in the dialog box.
- From contents, chose Pattern.
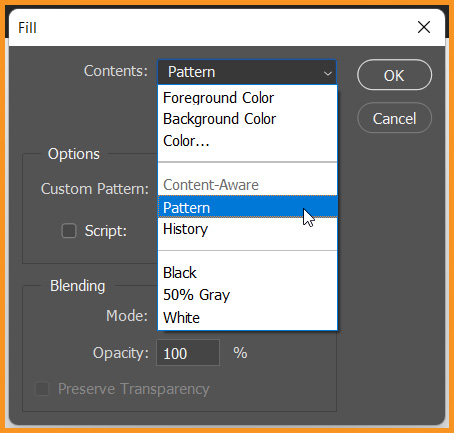
- From Custom Pattern chose the newly defined pattern at the bottom.
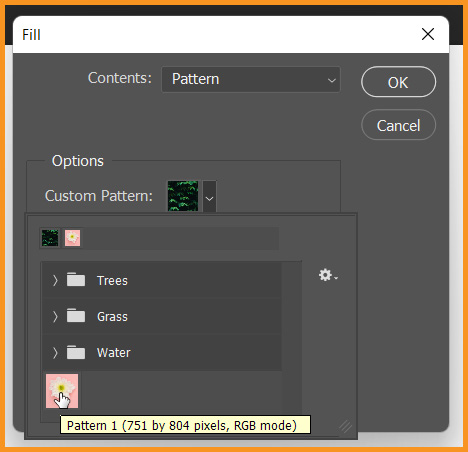
Then click OK.
Step 6: Final output
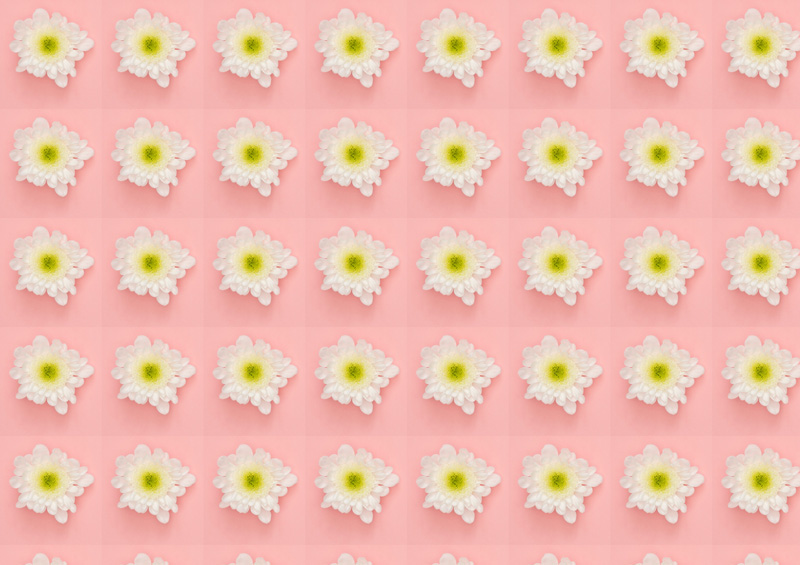
Related Topics:
How to create custom pattern in Photoshop
As we know, a pattern includes a repeating design or visual. So, to create a custom pattern, we need to create the small part of the pattern which will be repeated.
Step 1: Create a new document
In this case, we’ll need to create a small document for repetition. I’ll be creating 30 px by 30 px document.
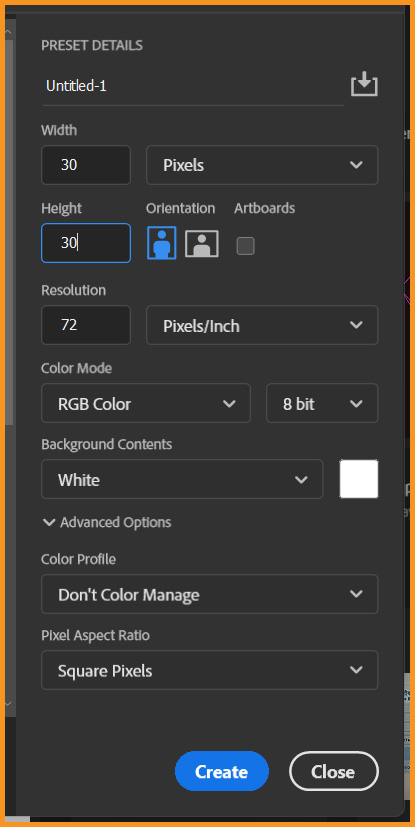
Step 2: Create your design or visual
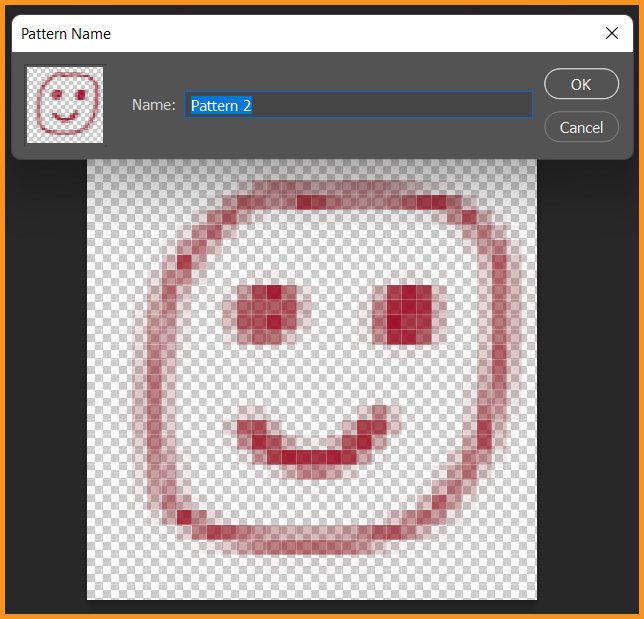
Now, we’ll have to create the smallest part of our pattern which we need to repeat in order to create a pattern. I’ve created the following smiley.
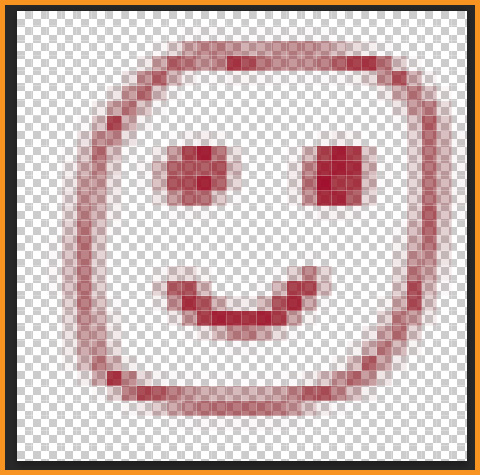
Step 3: Define Pattern
Go to Edit > Define Pattern again. Then rename it if needed and click OK.
Step 4: Create new document
Now, to try out the pattern, we’ll have to create a New Document.
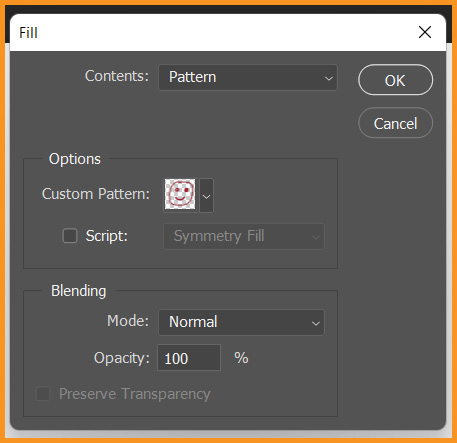
Step 5: Go to Edit > Fill
Chose Pattern from Contents and again from Custom Pattern chose the newly defined pattern at the bottom.
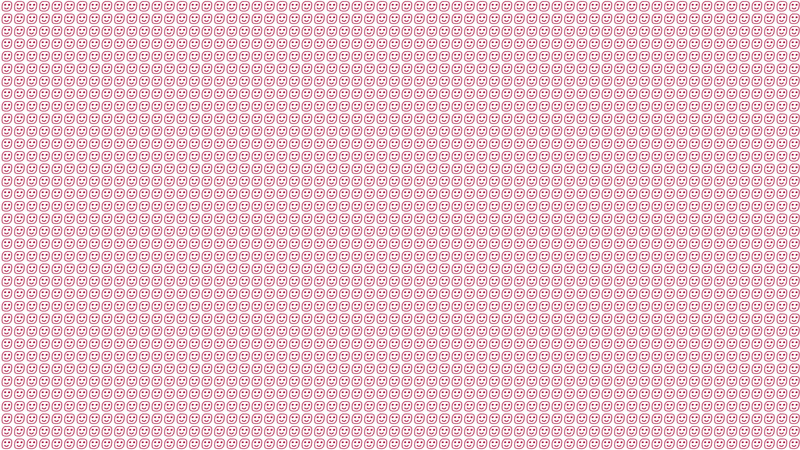
Step 6: Final Result
Related Topics:


